The touchpad of the laptop now has a new feature called Pinch Zoom with the latest Windows 11 operating system, which enables you to zoom in or out of a picture by moving two fingers in close proximity to or away from one another. Although this is a useful feature for experienced Windows users, if you find a problem within that in which the page zooms in and out whenever you move the mouse over it automatically, you may want to disable this feature.
Using two fingers, you can pinch your Touchpad to zoom in or out. However, many users find this feature annoying and want to turn it off. However, some users have expressed frustration that the problem is not resolved on their computers. Whatever the situation, you can enable or disable Pinch to Zoom on Touchpad on your Windows computer. In this article, we’ll exemplify the process for you.
You can enable or disable pinch to zoom on the touchpad. Try any of the following methods to enable or disable Pinch to Zoom on Touchpad:
• From the Windows Settings menu
• From the Registry Editor
Let us go over them in depth.
1. From the Windows Settings menu
We’ll start by looking at how you configure the Touchpad Zoom option in Windows Settings. It is obviously the simplest method because Settings is designed to make system configuration easier.
Try the steps below to enable pinch to zoom.
For Windows 11
a) By pressing Win + I, you can access the Settings menu.
b) From the right panel, select Bluetooth & devices.
c) Select Touchpad.
d) Select Scroll & Zoom.
e) Uncheck the box next to Pinch to Zoom.
Simply check the box next to Pinch to Zoom to enable it.
2. From the Registry Editor
Try turning on Pinch to Zoom in Registry Editor if you want to show off your technical prowess in front of everyone. There are other reasons you might want to use Registry Editor.
Before changing your right-click option, we advise you to make a backup of your registries.
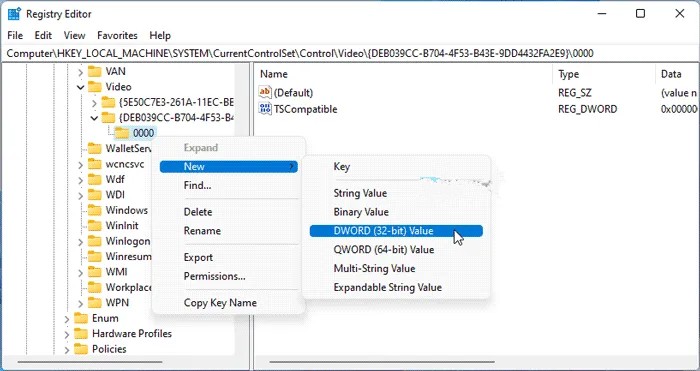
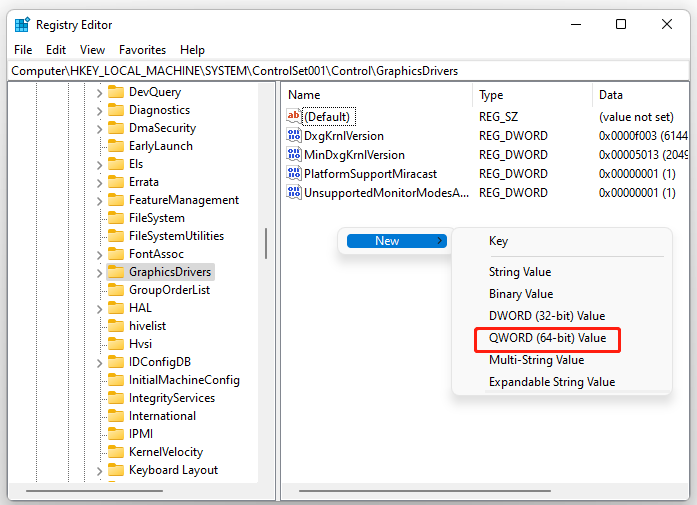
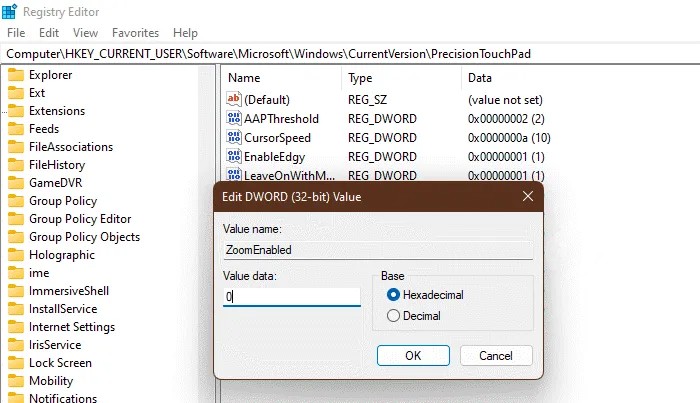
Open Registry Editor and go to the location below to accomplish the same:
Computer\HKEY_CURRENT_USER\Software\Microsoft\Windows\CurrentVersion\PrecisionTouchPad
Look for ZoomEnabled now. If you can’t find it, right-click an empty space and choose New > DWORD (32-bit) Value from the menu. The newly generated key’s is named as ZoomEnabled.Then, double-click it and change the Value data to 0 (to disable it) orffffffff (to enable it).
After you’ve made your changes, exit Registry Editor and you’re ready to go.
3. How do I make Windows 11’s pinch zoom functional?
On a computer running Windows 11 you can turn on Pinch to Zoom using the Windows Settings or Registry Editor. Both approaches have been discussed above. So read that section if you want to enable pinch to zoom. You’ll be able to use Pinch to Zoom on your Windows 11 computer.
4. Why does my touchpad zoom rather than scroll?
When you use two fingers on the touchpad, the zoom feature activates as well as the scroll feature. You can easily zoom instead of scrolling, so. Simply turn off Pinch to Zoom if you don’t want that and don’t need to zoom. Two approaches to accomplishing the same thing were mentioned above. Just a quick tip: hold Ctrl while pressing + to zoom in a browser. This will fulfil your needs.
5. How can I get my Touchpad zoom fixed?
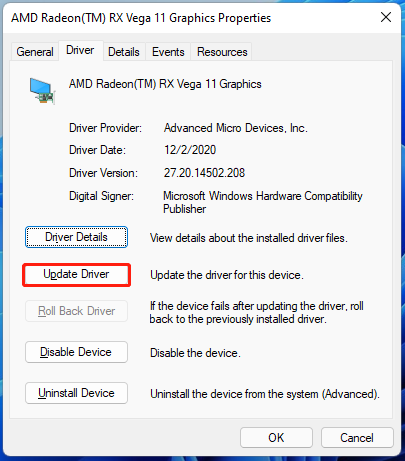
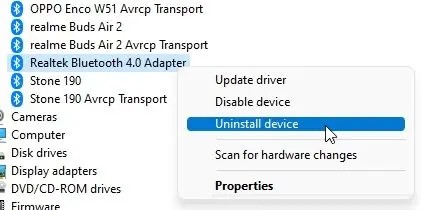
In order to save the changes you have made to the settings, try restarting your computer first if your Touchpad still won’t zoom even after you enabled the feature. If restarting doesn’t work, try updating your Touchpad drivers because the problem might just be a glitch. Reinstalling your Touchpad drivers should solve the problem for you if even updating wasn’t successful.
6. If your computer does not have a precision touchpad?
To get a Precision touchpad if you don’t already have one, simply follow the instructions. Even so, they won’t provide as many benefits as the built-in one, which includes a customization feature to specify how each gesture should be used. In order to proceed, you must use a tool that the manufacturer has provided, such as the synaptic control panel.
• You need to go to Settings and select the Control panel.
• Now you need to continue, select Hardware and Sound.
• After that, select Click pad settings
• You can choose whatever you want from there after seeing all the gestures and options that are available.
That’s it! This is how to turn on or off pinch to zoom in Windows 11. If you find any issues then do let us know in the comments section below and stay tuned with us for more tutorials.