ByVince TopskyAugust 12, 2022Forgot Your Windows 11 Password? Here is How to Reset Windows 11 Password The password helps us to protect our device from unauthorized hands but forgetting a password is a challenging…
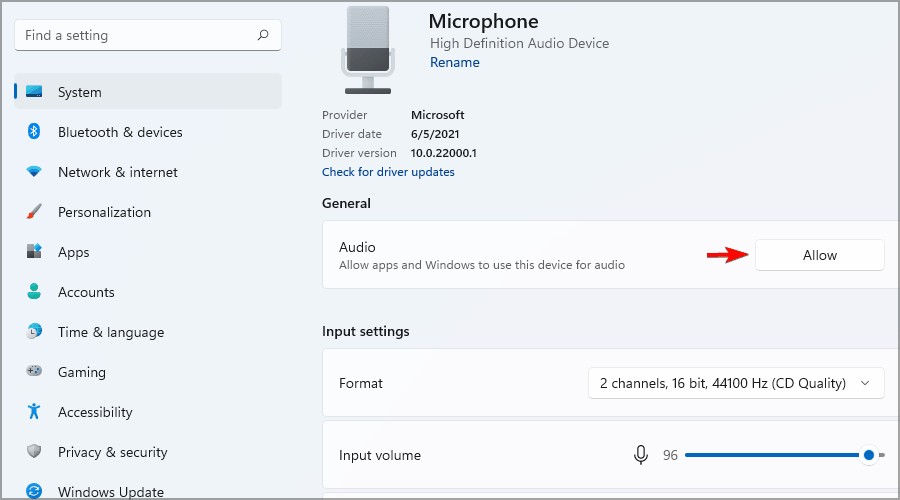
ByVince TopskyAugust 9, 20223 Quick Ways to Enable Microphone Access in Windows 11 On a device, privacy and security are the main concerns for preventing hackers from accessing your data and…
ByVince TopskyAugust 6, 2022How to ALWAYS show all the Icons in Notification area of Windows 11 Icons were primarily displayed on the Taskbar in earlier iterations of Windows. With just one click, users can…
ByVince TopskyAugust 6, 2022Windows 11 22H2 startup sound quality is getting lowered by Microsoft Microsoft is nearing the completion of the first major update to Windows 11: version 22H2. The update is…
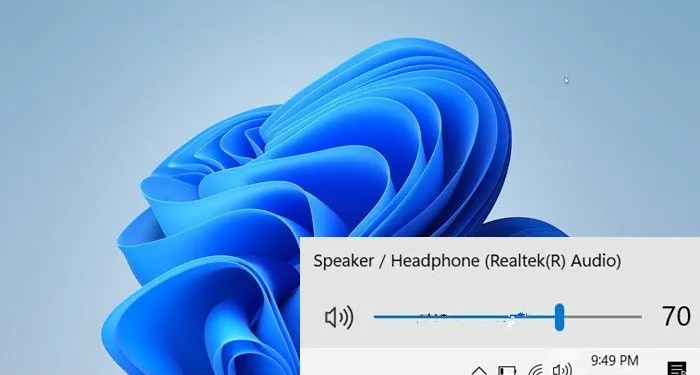
ByVince TopskyAugust 5, 20226 Ways to Fix No Sound Output Devices Found in Windows 11 Microsoft has introduced the latest Windows 11 operating system with the notes of new features and a massive…
ByVince TopskyAugust 4, 2022Fix DistributedCOM error 10005 on Windows 11 DistributedCOM error 10005 in Windows is a problem that appears on devices running Windows 10 or Windows 11.…
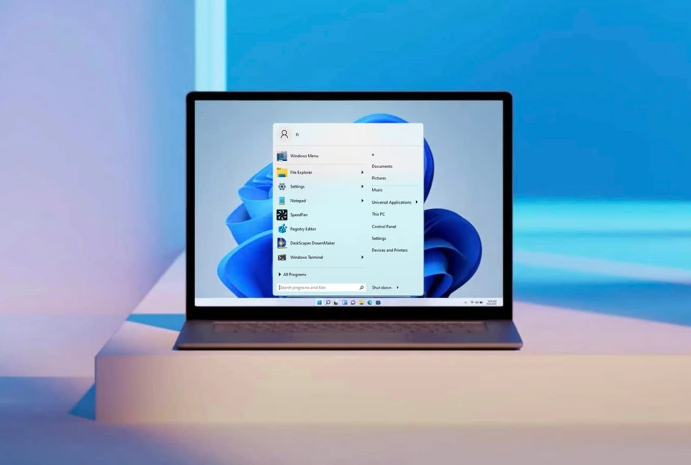
ByVince TopskyAugust 2, 2022How to Ungroup Taskbar Icons in Windows 11 Windows has undergone significant change over time, losing some of its more traditional features in the process. Windows…
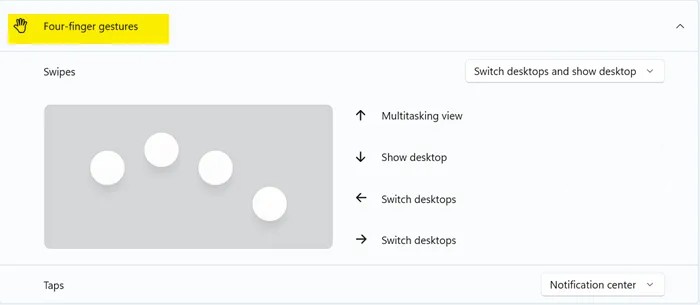
ByVince TopskyAugust 1, 2022How to change Four-finger Tap Gestures in Windows 11 It’s fairly typical for laptop users to choose an external mouse over their device’s touchpad. Aside from familiarity,…
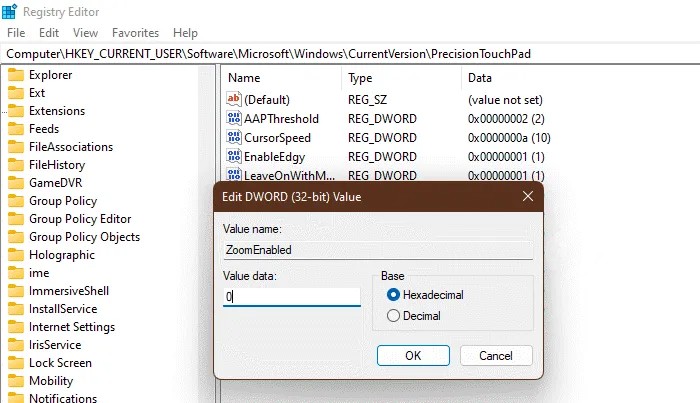
ByVince TopskyAugust 1, 2022How to Turn On or Off Pinch to Zoom on Touchpad in Windows 11 The touchpad of the laptop now has a new feature called Pinch Zoom with the latest Windows 11…
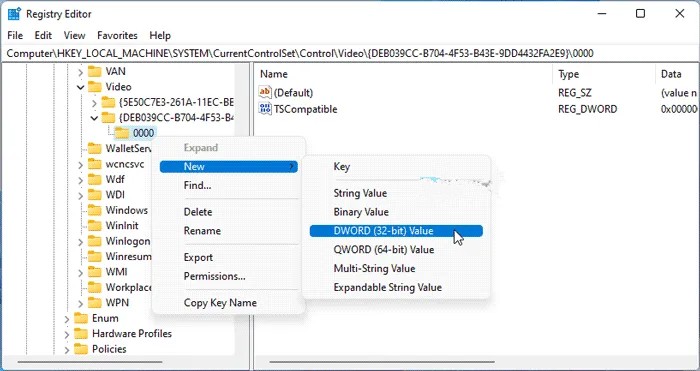
ByVince TopskyJuly 31, 2022Fix High DPC Latency on Windows 11 Windows 11 is the latest version of the operating system for computers which is running on Windows and…
ByVince TopskyJuly 28, 2022Windows 11 Update/Download Stuck? Try 4 Fixes Here! The latest iteration of the Microsoft operating system, Windows 11, is undoubtedly the most technologically advanced. The majority…
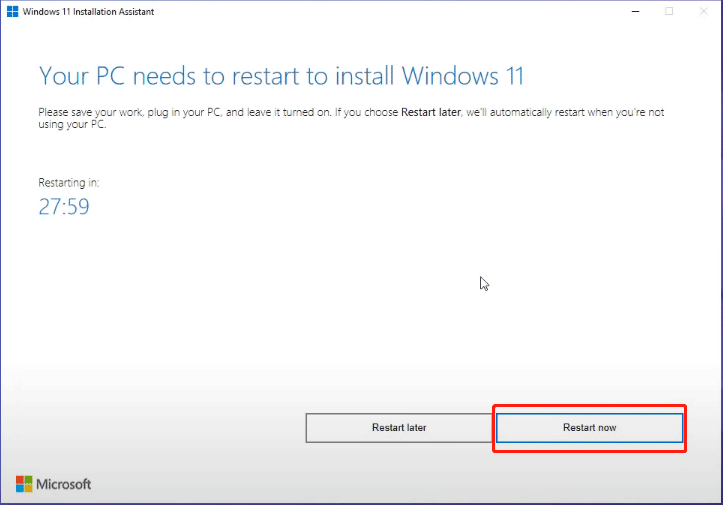
ByVince TopskyJuly 27, 2022Windows 11 Installation Assistant The Windows 11 Installation Assistant is a useful tool for upgrading your compatible Windows 10 computer to the…