ByshantanuOctober 20, 2012Fix: Wireless Connection not showing – not able to connect – red cross icon–no wireless networks available in Windows 8 , 7 , Vista , XP After reading this post you will be able to fix some issues that you might be facing while…Windows 7Windows 8Windows VistaWindows XP
ByshantanuOctober 20, 2012How to connect to a hidden network in Windows 7 , Vista , XP Before connecting to a hidden network, note down the following information: Your Network SSID Security key Security type…Windows 7Windows VistaWindows XP
ByshantanuOctober 18, 2012Fix: Stop Error : Blue screen : BSOD : unmountable_boot_volume 0x000000ed in Windows 7 After reading this guide you will be able to fix an issue with your Windows 7 computer, where…Windows 7
ByshantanuOctober 17, 2012Fix : Antivirus Software downloading updates but showing out of date / not updated in Windows 8 , 7 , Vista , XP After reading this post you will be able fix an issue, where your antivirus / antispyware / antimalware…Windows 7Windows 8Windows VistaWindows XP
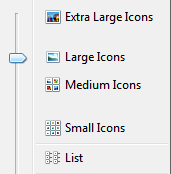
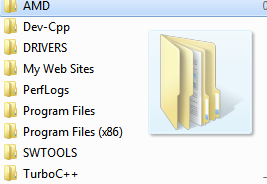
ByshantanuOctober 16, 2012Fix : Pictures not showing thumbnail view / thumbnail view not working in Windows 7 After reading this post you will be able to fix an issue with your Windows 7 computer, where…Windows 7
ByshantanuOctober 15, 2012Fix : Drag & drop functionality not working in Windows 7 , Vista, XP After reading this post you will be fix a problem where you cannot use the drag & drop…Windows 7Windows VistaWindows XP
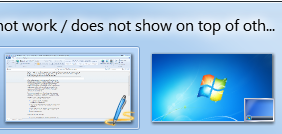
ByshantanuOctober 15, 2012Fix : Alt + Tab does not work / does not show on top of other programs in Windows 7 After reading this post you will be able to fix an issue with your windows 7 computer, where…Windows 7
ByshantanuOctober 7, 2012Fix: Hardware devices not working or not detecting in Windows 8, Windows 7, Vista & XP After reading this you will be able solve a problem where Windows might not detect one or multiple…Windows 7Windows 8Windows VistaWindows XP
ByshantanuSeptember 26, 2012Guide to finding and fixing dead or stuck pixels on your LCD monitor This guide is intended for users facing dead or stuck pixel on their LCD monitors. Sometimes we notice…Editorials
ByshantanuSeptember 24, 2012Workaround : Unable to sync mails with new outlook.com email address in Windows 8 mail app After reading this you will be able to solve an issue where you cannot sync emails on your…Windows 8
ByshantanuSeptember 17, 2012Fix : Stuck brightness controls / hotkeys not working in Windows 8 , 7 , Vista & XP After reading this post you will be able to solve a problem where you cannot use the hotkeys…Windows 7Windows 8Windows VistaWindows XP
ByshantanuSeptember 15, 2012Fix : External USB Hard Disk drive not detecting / not working properly problem in Windows 8 , 7 , Vista & XP After reading this article you will be able to fix some of the problems that stop a user…Windows 7Windows 8Windows VistaWindows XP