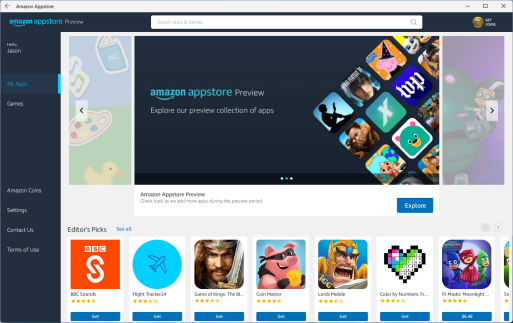
ByVince TopskyJuly 25, 2022How to install any Android APK on Windows 11 The highlighting element of the latest Windows 11 operating system is to support the Android applications on the…
ByVince TopskyJuly 24, 2022How to fix AMD driver crashes in Windows 11 Since its release, Windows 11, the most recent version of the Microsoft operating system, has drawn a sizable…
ByVince TopskyJuly 23, 2022Fix Bluetooth Driver Error on Windows 11 The latest Windows 11 operating system started to have problems and the same is happening to those users…
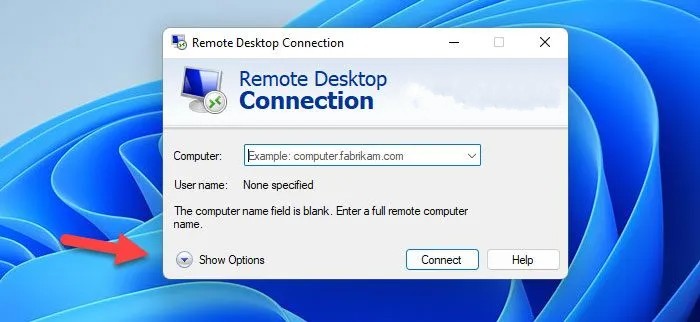
ByVince TopskyJuly 23, 2022How to Transfer Files to and from Remote Desktop in Windows 11 The Windows operating system powers millions of computers across the globe and the operating system comes with lots…
ByVince TopskyJuly 20, 2022How to use Phone Dialer (dialer.exe) to make phone calls using Windows 11 Microsoft offers several applications and one of them is the Phone Link application and the same enables users…
ByVince TopskyJuly 19, 2022How to remove Windows Spotlight Learn about this picture Desktop icon in Windows 11 Windows spotlight is an amazing feature by Microsoft as the same showcases beautiful background images on your laptop…
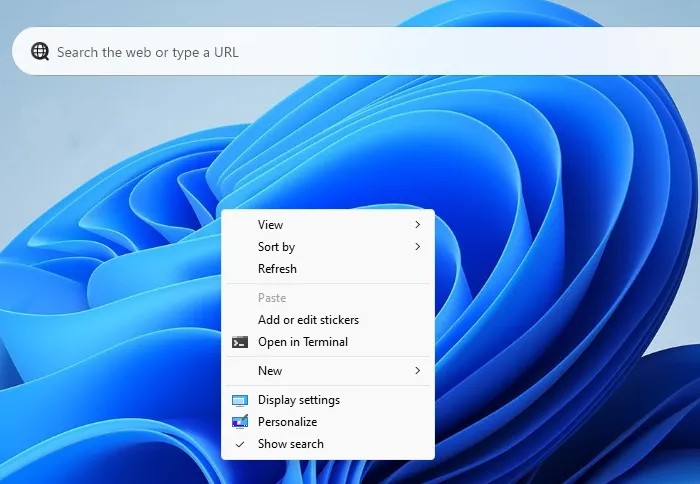
ByVince TopskyJuly 19, 2022How to Enable or Disable Desktop Search Bar in Windows 11 Microsoft introduced the latest Windows 11 operating system last year and the company made a massive change on…
ByVince TopskyJuly 17, 2022How to Upgrade to Windows 11 for Free The most recent version of Microsoft’s flagship operating system is Windows 11, which is the successor to Windows…
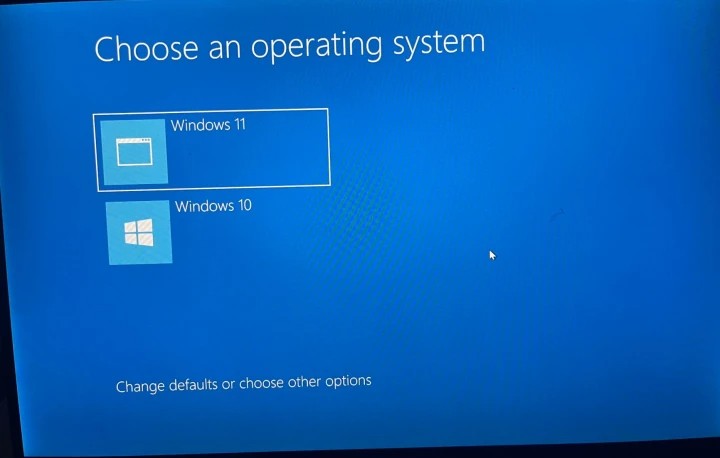
ByVince TopskyJuly 17, 2022How to Dual Boot Windows 10 and Windows 11 It has long been customary to dual-boot several Windows versions. On the same hard drive of a PC…
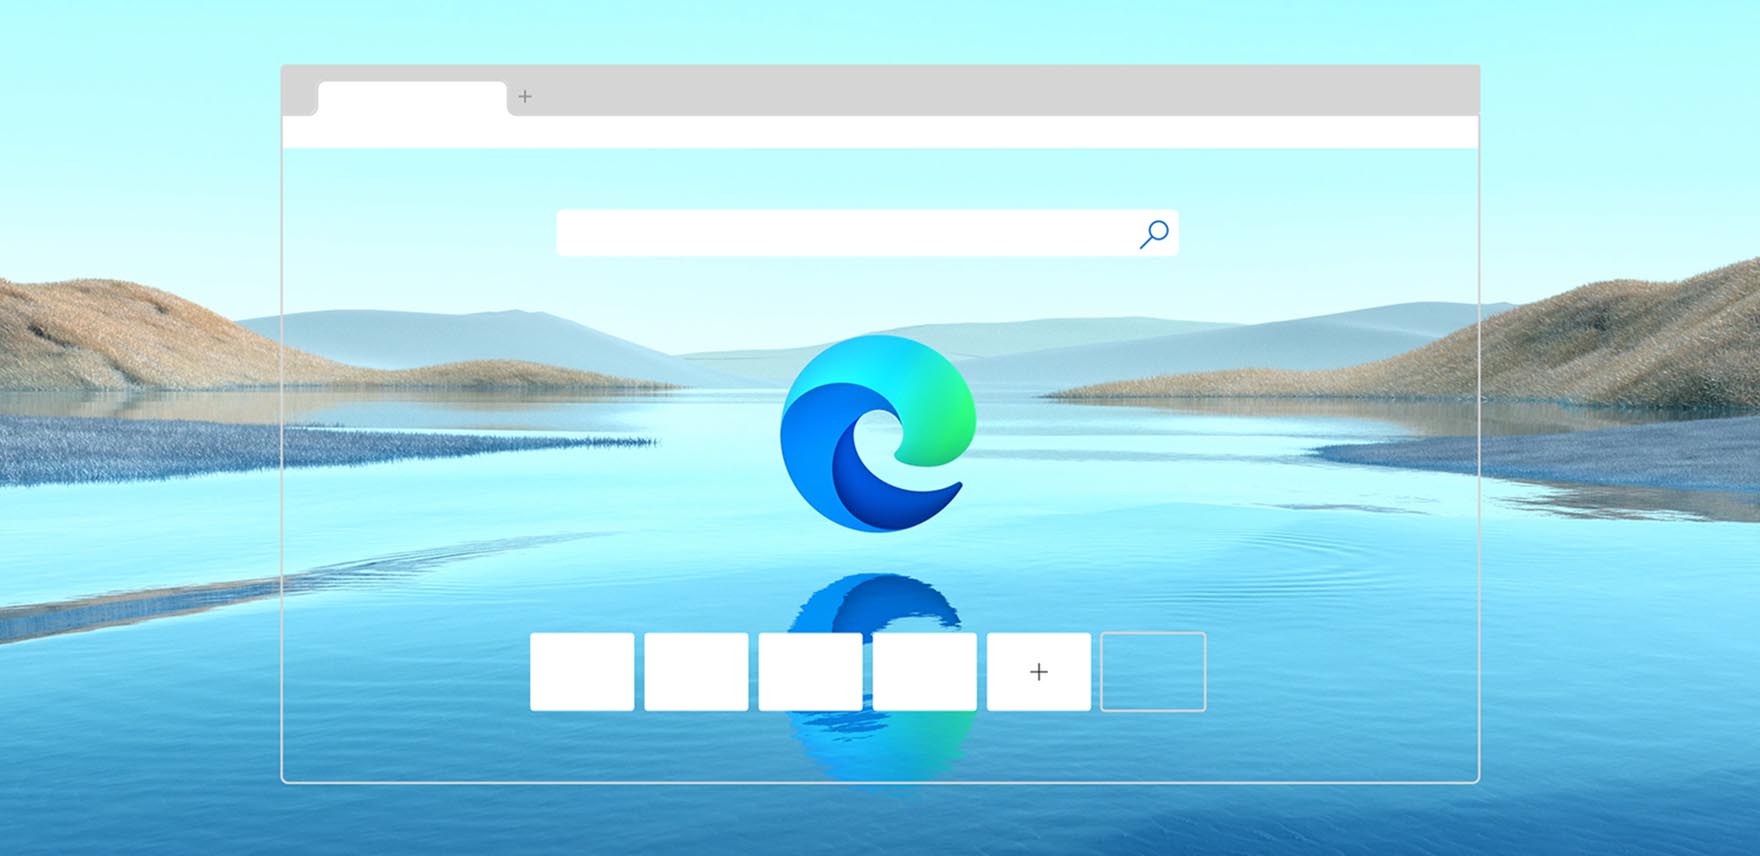
ByVince TopskyJuly 17, 2022How to use Microsoft Edge Drop to Share files in Windows 11/10 Microsoft Edge is the powerful and built-in web browser for Windows 11 and Windows 10 operating systems and…
ByVince TopskyJuly 15, 2022How to Remove Annoying Ads From Windows 11 Microsoft has introduced the new Windows 11 operating system with lots of improvements and new features. Windows 11…
ByVince TopskyJuly 15, 202213 Reasons to Use Windows 11’s Edge Browser The tech giant Microsoft introduced its new Edge browser with Windows 10 operating system and now the same…