ByshantanuSeptember 15, 2012Glorious Roadmap of Internet Explorer Microsoft, the big software giant is well known for its range of products from Windows, Server, Office &…Editorials
ByshantanuSeptember 12, 2012Steps to Fix Laptop / Desktop Computer Thermal Shutdown One of the most common reasons behind sudden shutdown of a computer system is heat. When the processor…Editorials
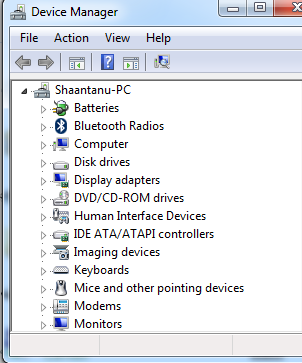
ByshantanuSeptember 12, 2012Fix : Device Manager not showing any hardware / empty device manager problem in Windows 7 , Vista , XP After reading this guide you will be able to fix a problem where Device manager when opened shows…Windows 7Windows VistaWindows XP
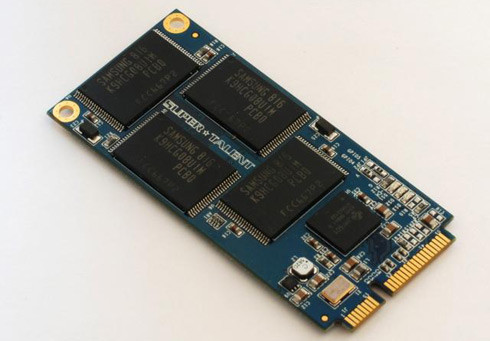
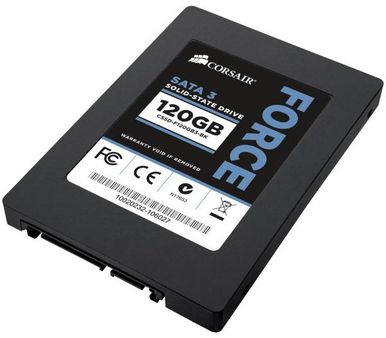
ByshantanuSeptember 12, 2012Tips : Solid State Drive : Increase Performance in Windows 8, 7, Vista , XP After reading this short article, you will be able to properly configure your Solid State Drive ( SSD )…Windows 7Windows 8Windows VistaWindows XP
ByshantanuSeptember 11, 2012Align SSD / HDD partition for better performance in Windows 8, Windows 7, Windows Vista & XP After reading this you will be able to align the your Solid State Drive (SSD) or a conventional…Windows 7Windows 8Windows VistaWindows XP
ByshantanuSeptember 1, 2012Fix : File & Folder Access Denied error messages in Windows 7, Vista, XP After reading this you will be able to solve the error messages saying “Access Denied” on your Windows…Windows 7Windows VistaWindows XP
ByshantanuAugust 26, 2012Windows 8 : Adding Signature in Windows 8 mail app After reading this article you will be able to add signature in the Windows Mail app in Windows…Windows 8
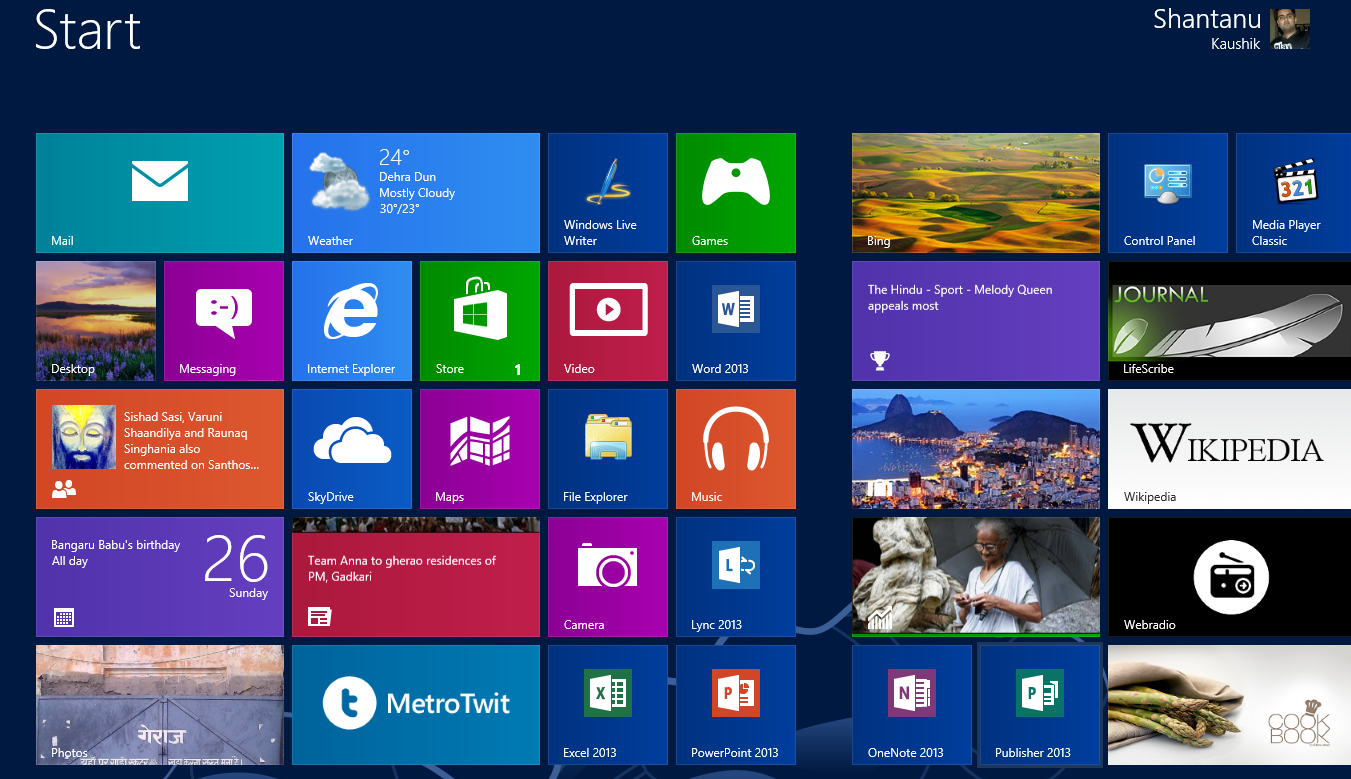
ByshantanuAugust 26, 2012Using Windows 8 : Simplfied Usage : Customize Windows After reading this article you will be able to understand & customize your Windows 8 PC for power…Windows 8
ByshantanuAugust 23, 2012Microsoft Gets a New logo Microsoft today announced via The Official Microsoft blog , that Microsoft brand logo is getting a change. Microsoft…EditorialsWindows 8
ByshantanuAugust 23, 2012Fix: STOP error : BSOD : STOP 0x0000007B INACCESSABLE_BOOT_DEVICE in Windows 7, Vista & XP After reading this you will be able to solve a STOP error or better known as Blue Screen…Windows 7Windows VistaWindows XP
ByshantanuAugust 22, 2012Fix: Laptop Battery running out quickly, Increase / optimize your battery life in Windows 8, Windows 7, Vista, XP After reading this you will be able to fix some of the issues that might be affecting your…Windows 7Windows 8Windows VistaWindows XP
ByshantanuAugust 19, 2012Fix: STOP error : BSOD after installing Windows 7 Service Pack 1 , error code: 0x0000007F After reading this article you will be able to solve and issue where you get a Blue screen…Windows 7