ByshantanuJuly 11, 2012 Check your Laptop/Netbook/notebook/Ultra portable Computer’s battery healthy easily Windows 7 Windows 8 Windows Vista
ByshantanuJuly 7, 2012 How to Install Windows 7, Windows 8 from USB pen drive Windows 7 Windows 8 Windows Vista
ByshantanuJuly 6, 2012 Solution : Windows Media Player cannot play some media files : missing codecs Misc Windows 7 Windows Vista Windows XP
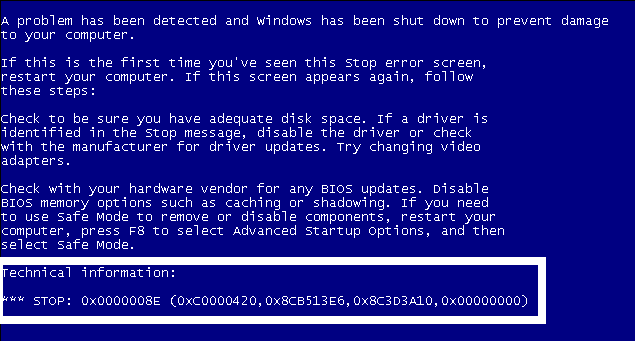
ByshantanuJuly 4, 2012 Solve Blue Screen error / BSOD : STOP: 0x0000000A IRQL_NOT_LESS_OR_EQUAL Windows 7
ByshantanuJuly 4, 2012 What to Know & do about BSOD ( Blue Screen ) (Black Screen) errors Windows 7 Windows Vista Windows XP
ByshantanuJuly 3, 2012 How to Fix No Sound Problem in Windows Vista/XP/7/8/8.1/10/11 Windows 7 Windows 8 Windows Vista Windows XP
ByshantanuJune 29, 2012 Block Internet Access over Network but allow Network Access / File & Print Sharing in Windows 8 , 7 , Vista , XP Misc Windows 7 Windows 8 Windows Vista Windows XP
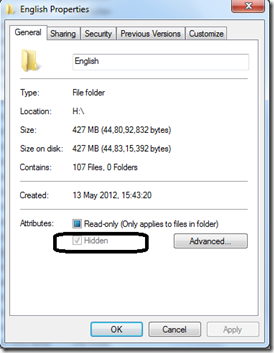
ByshantanuJune 27, 2012 Fix: “Hidden” Attribute Option Greyed Out in Windows XP/Vista/7/8/8.1/10/11 Windows 7 Windows 8 Windows Vista Windows XP