ByVince TopskyJuly 3, 2022 How To Get The Best Out Of Accessibility Features In Windows 11 Windows 11
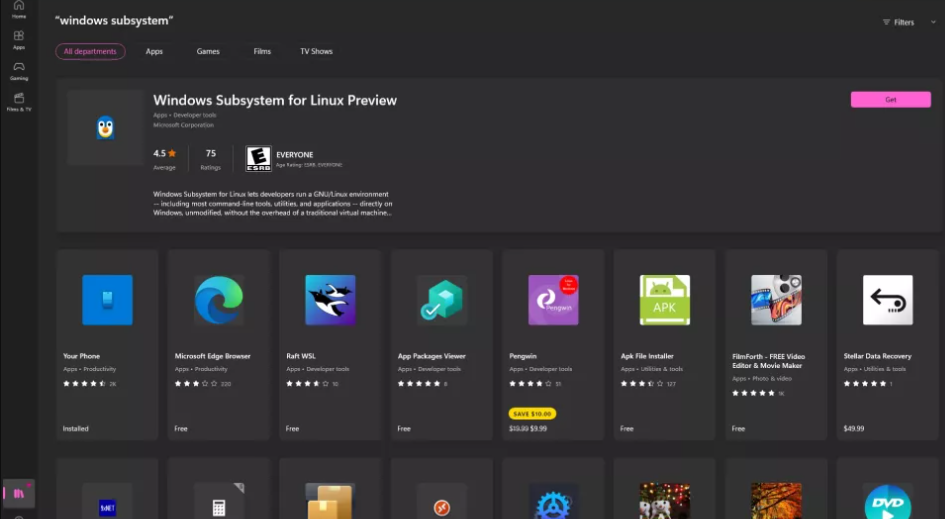
ByVince TopskyJuly 3, 2022 How To Install A Linux Operating System Such As Ubuntu In Windows 11 Windows 11