
When you consider accessibility features of any kind, you might assume that they are solely for those who have vision or hearing impairments, restricted mobility, or other challenges that might make using a computer more difficult.
Even though it’s clear that Windows 11 offers a wide range of options and tools for individuals who fit into these and many more categories, the accessibility features built into the operating system can actually be helpful to almost everyone. So, without further ado let’s get into the article to find more features of windows 11.
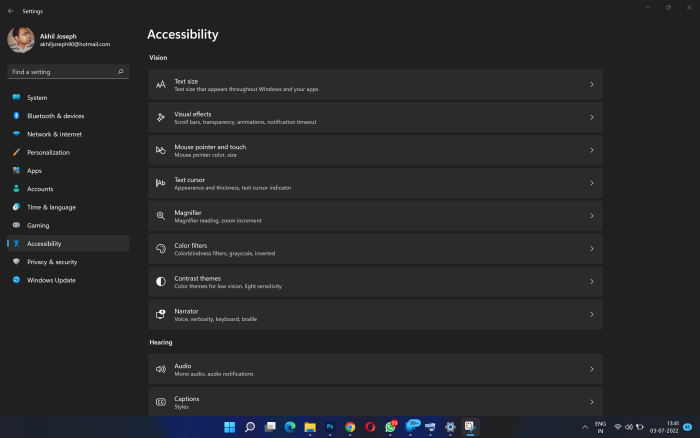
1. Text Size
The accessibility settings for Windows 11 are all unified in one page. The Accessibility area can be reached by opening the Settings app from the Start menu or by pressing the Windows key and I keyboard shortcut.
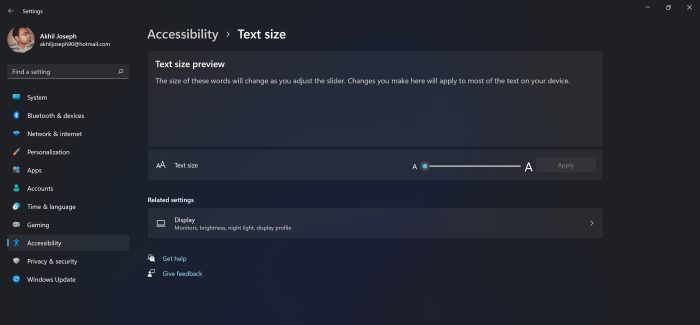
Click Text size and use the slider to increase it if the text on the screen is too small for you to read. Use the preview box to see how it will look before you make any changes.
You can choose to make scrollbars always visible (rather than only appearing when the cursor is above them), disable distracting effects, and extend the duration of notifications by going back a screen and opening Visual effects.
2. Modifying the Mouse Pointer
Customizing the appearance of the cursor can be done in the Mouse pointer and touch section. To make sure the pointer is always visible, regardless of what else is on the screen, you can select a white pointer, a black pointer, a custom colour, or use the inverted colour option.
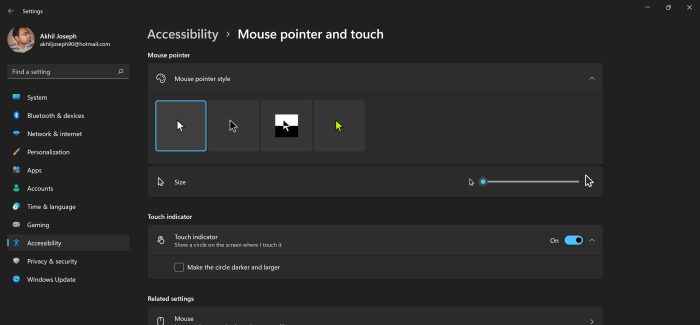
You can use the slider to enlarge the mouse pointer below, exactly like you were able to do with the text size. If you’re running Windows 11 on a touchscreen device, you can choose whether to show or hide the touch indication. If it’s enabled, you can also adjust the circle’s size and brightness to make it easier to see.
3. Making Use of the Magnifier Tool
People with problems with vision will definitely love the Magnifier tool in Windows 11 is an incredibly helpful function that can be activated by pressing Windows + +. You can zoom in on anything on your screen by pressing the keyboard shortcut yet again, and you may keep pressing it for even more magnification.
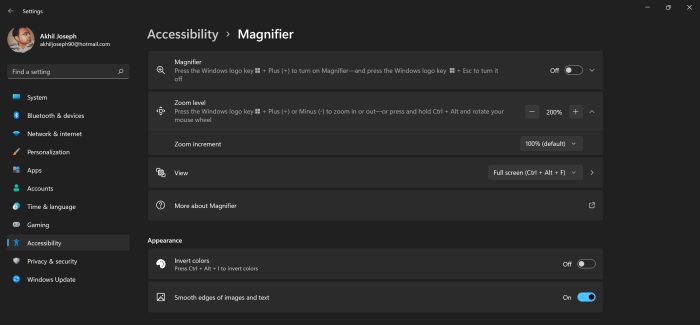
While pressing Windows + Esc will totally turn off the magnifier, pressing Windows + – will cause it to zoom out. You can select to have the magnification tool activated when Windows starts and to have the colours reversed whenever the magnifier is in use to help with visibility. Both options can be found in the Magnifier section of the Accessibility settings.
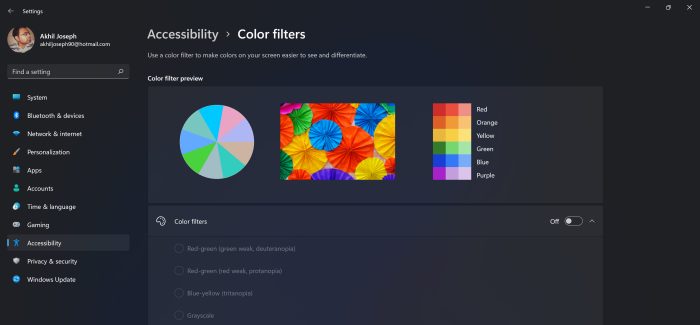
4. Making use of the colour filters
The Color filters section can be useful if colour blindness or any comparable problem makes it difficult for you to distinguish between specific colours. You can see the effects of different colour combinations in the Color filter preview section by switching the Color filters toggle to the On position before making a choice from the range of filtering options. You will notice a difference on your screen right away.
If you don’t need the colour filter to be on all the time, the settings keyboard shortcut for toggling it on and off comes in handy. Toggling filtering is activated by pressing Windows + Ctrl + C.
5. The Narrator’s Use
Applications 11 has a tool for describing what is on your screen and which windows and dialogues are now active. The Narrator is a feature that you may turn on and off by pressing Windows+ Ctrl + Enter; you can then continue to use Windows and you will be informed about everything that shows on your screen and any window under your cursor.
You can have the Narrator notify you every time a key is pressed by clicking Caps Lock + 1. The Narrator can be enabled automatically at startup and the narration voice can be modified using the Narrator part of the Settings menu.
6. Opening up the audio accessibility options
For those who have hearing problems, Windows 11 offers a number of useful alternatives. You can enable mono sounds and on-screen notifications in connection with audio notifications by opening the Audio section under Hearing in Settings.
These on-screen notifications can be received in three ways: flashing the title bar of the active window, flashing the entire active window, or flashing the full screen, and you can choose which you want from the drop-down box. Back in the Captions area, you may customise the appearance of video captions.
7. The use of Sticky Keys
You can discover several useful functions under the Keyboard section of Settings. Your keyboard is an essential tool for interacting with Windows and the programmes you use.
Sticky keys allow you to type shortcuts on the keyboard one key at a time, while Filter keys come in helpful if you find that you unintentionally press keys more frequently or for longer than you meant. When you enable Caps Lock, Scroll Lock, or Num Lock, toggle keys play an audio notice so you know if you mistakenly press one of these keys.
You can activate and deactivate the on-screen keyboard by pressing Windows + Ctrl + O.
8. Increasing the mouse’s functionality
You may get a comparable range of choices for your mouse by going to the Mouse section of Settings. The numeric keypad on your keyboard can be used to control your mouse cursor if you enable the Mouse keys option.
You can modify speed and acceleration for Mouse keys in the same way that you do for your mouse’s default settings. You can enable an option that will speed up movement when the Ctrl key is hit and slow it down when you press the Shift key if you need to adjust the pace of the mouse on the fly.
9. Making Use Of Speech Recognition
The Windows Speech Recognition option, which is located under the Speech area of Settings, is intriguing for anyone who finds it hard to use a mouse and keyboard or for anyone who is simply looking for a different means of input. If you’d rather, you may use the Windows + Ctrl + S keyboard shortcut to activate the function instead of this Settings page.
When you initially enable speech recognition, you will be taken through the process of teaching Windows to recognise your voice; once this process is through, you will be able to use a sequence of voice commands to operate every element of using your computer.
10. Voice-based typing
Voice typing is a related voice control feature. As you might have guessed, this function allows you to type without using a keyboard instead of dictating any text you want to input using your voice.
By tapping the microphone button on a touchscreen device’s touch keyboard or the Windows + H keyboard shortcut, you can activate voice typing.
You can adjust settings like automatic punctuation of text and having the tool available anytime you’re in a text field by clicking the cog button on the Voice typing dialogue. The microphone button can then be pressed to begin dictation.
If you know someone who really needs the above mentioned accessibility features then do recommend this article as the tools will make their life easy and they can able to work on the computer with comfort and that will result in more productivity.
Leave a Reply