Are you wondering about how to switch to a Windows 11 local account from a Microsoft one?
Then here’s the article that explains you in detail about the same.
Also Read —> How to Open HEIC Files in Windows 11?
Why You Have to Use a Microsoft Account in Windows 11?
During the setup and installation of Windows 11, you are asked to login to your Microsoft account, or to create one.
This is to give you access to Microsoft services such as Outlook, One Drive, etc. out of the box.
By providing you access to these services, Microsoft aims to provide you a complete user experience across all your devices.
However, this is something not all users really like.
Especially if the same Windows PC is used by different people.
No one would want their personal Microsoft account logged into a PC that’s used by others.
Thus, most people prefer to use a local PC account to login to their computer instead of the Microsoft account.
If you too want to switch to a Windows 11 local account from a Microsoft one, then we will help you to do so.
How to Switch to a Windows 11 Local Account from a Microsoft One?
Here’s how to switch from a Microsoft online account to a local account on any Windows 11 PC.
- To begin, launch the “Settings” app on your Windows 11 PC.
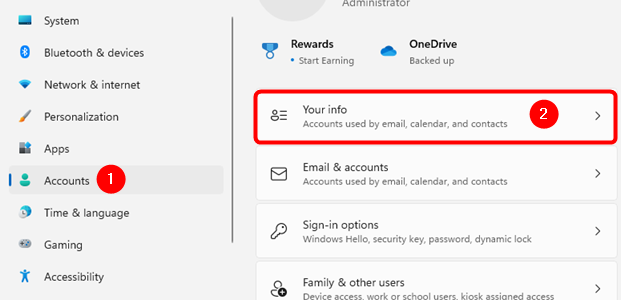
- Within the Settings window, click on “Accounts” from the left option pane.
- After you click Accounts, on the right side of the window, find and click on an option named as “Your info”.
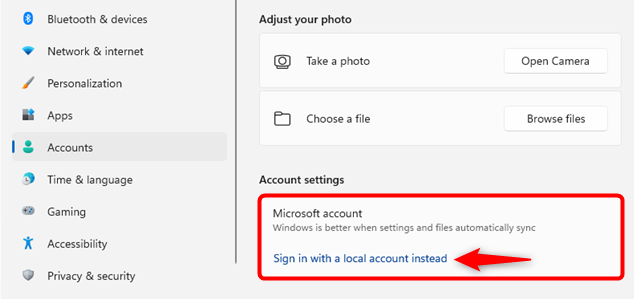
- Inside the Your info window, scroll down to find the heading “Account settings”.
- Within Account settings, tap on the option that says “Sign in with a local account instead”.
- You may be prompted to stick with the Microsoft account instead of a local account in your Windows 11 PC, skip the prompt.
- On the next blue-colored popup window that appears, click on the “Next” button.
- You may now be asked to enter the PIN associated with your PC account. In case a PIN wasn’t already set, you will be asked to enter your Microsoft account’s password instead.
- Now, you need to enter details for a new local Windows 11 account. The details you need to enter include a username, password, and a hint for your password. If you leave the password fields empty, then your account can be accessed by anyone without entering a password during login.
- Click on the “Next” button.
- After you create a local account, in the next screen, you’ll see the “Sign out and finish” option in the bottom right corner of the blue pop up window. Click on this option.
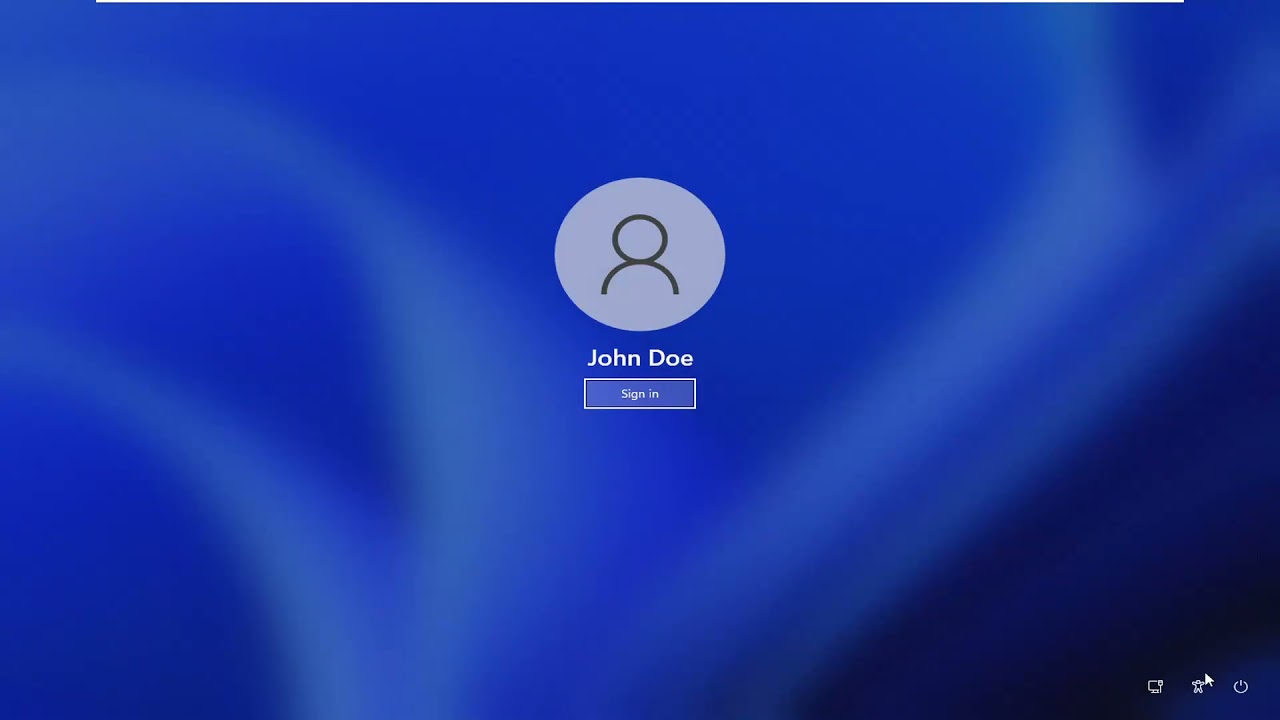
- Now you will be signed out of the Microsoft account linked to your Windows 11 PC.
And Viola!
Your Windows 11 PC now only have the local account linked with it.
Final Words
If you again go to the Settings app and click on “Accounts”, you will now be able to see your local account details on top.
At anytime you can choose to go back to a Microsoft account instead of a local account as well.