When did you initially receive your computer? Right, it seemed quick and responsive. How about right now? Most likely, it doesn’t feel anything near as fast, and that is mainly because of our usage and some things which we neglect and that makes the PC slow.
Fortunately, there are things you can do to get your computer back to how it was without spending any money. You can maintain a computer or laptop running Windows 11 with free tools provided by Windows itself. After using the free tools, you will realize the change in your computer.
You only need to know where to search because Microsoft has made it easy to improve and maintain the performance of your computer. We outline the features and tools that Windows includes by default to help you keep your computer operating efficiently. So without making any further delay let’s dive into the article to check out the free tools which can make your computer fast.
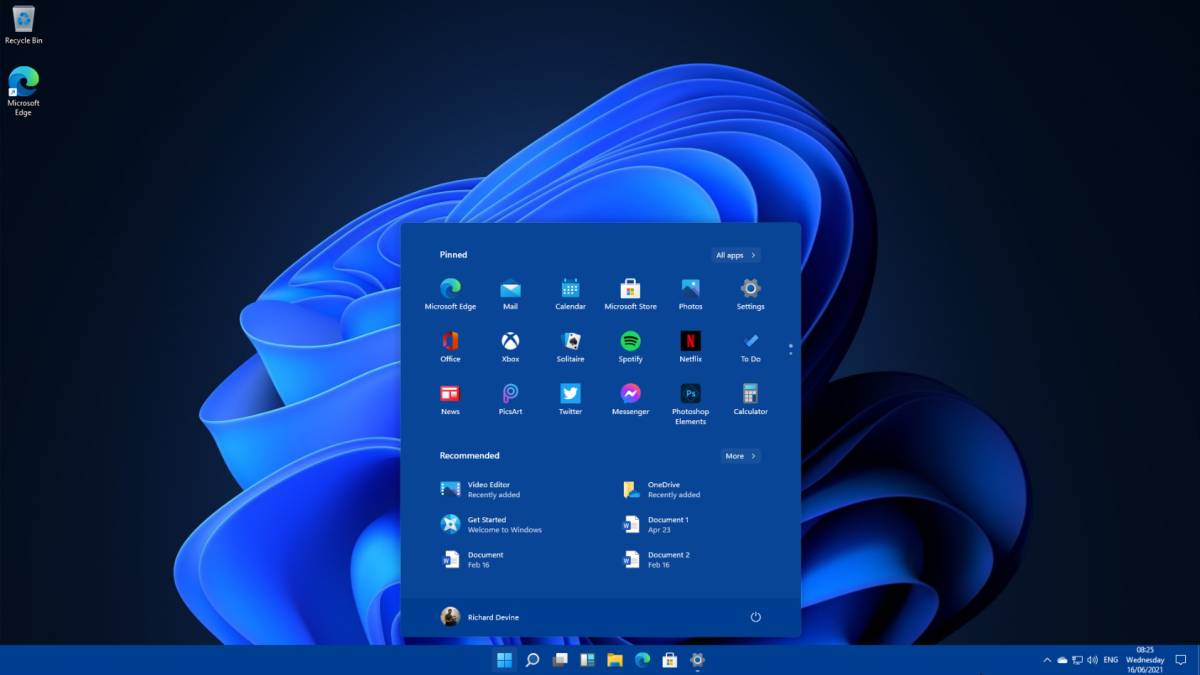
1. Visit “This PC”
Windows always uses your hard disc regardless of what you do with it. Therefore, maintaining the condition of your storage devices is crucial. Perform a disc cleanup as one of the first steps. Click This PC in the left-hand navigation pane of the File Explorer window after pressing Windows + E to bring it up.
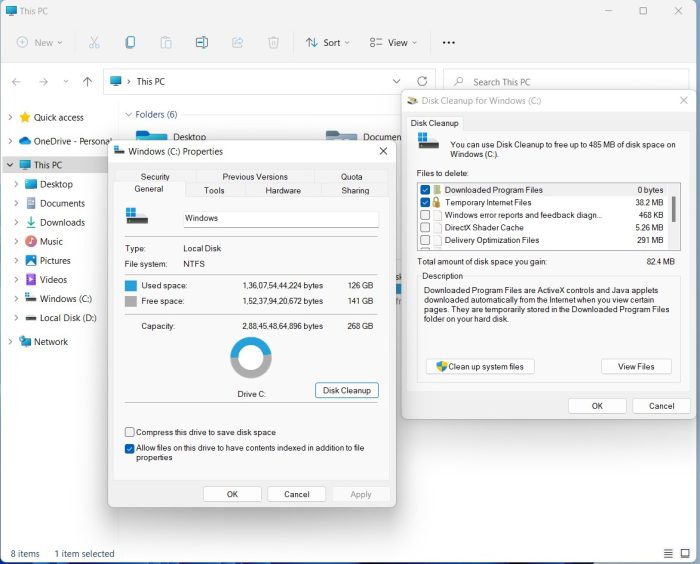
Make sure you’re on the General tab when you right-click the icon for one of your hard drives and choose Properties. Clean up system files should be selected after clicking the Disk Clean-up button. Then, in order to free up space, you may swiftly delete a large number of useless files using the check boxes, and you can delete outdated System Restore points using the More Options tab.
2. Running a hard drive scan
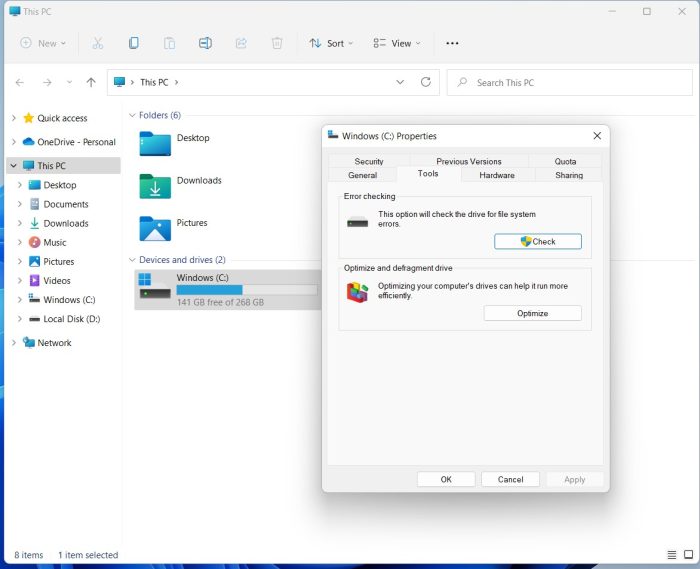
Modern hard discs are extremely durable, although issues do arise from time to time. You may check for disc issues in File Explorer by right-clicking on a drive icon, selecting Properties, and then going to the Tools tab.
Click the Check button, then Scan drive, and then sit back and wait for your drive to be inspected.
The scanning process can take some time; fortunately, when it’s finished, you’ll be informed that there are no issues. However, if problems are found, Windows will advise you on the next steps to be taken.
3. Storage optimization
Drive optimization is crucial despite the fact that fragmentation is less of a problem now that solid-state drives are so common. Click the Optimize button under the Optimize and defragment drive section on the Tools tab of the drive properties.
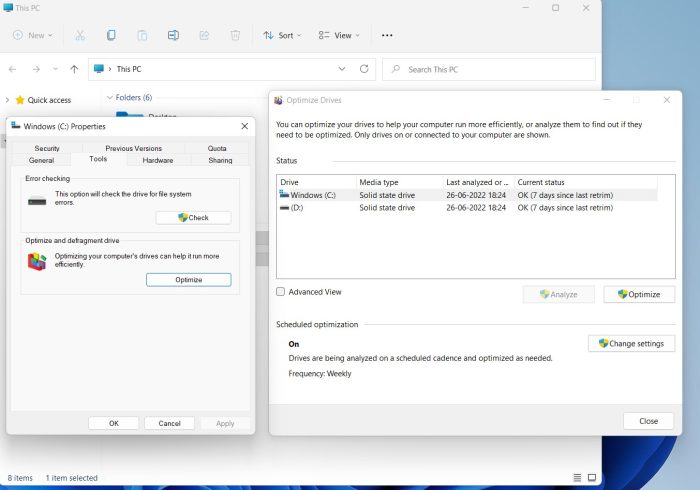
Windows will subsequently carry out the required actions to ensure peak performance if you click the Optimize button. The Advanced View button will show you more drives that can all be individually optimized using the same technique.
4. Schedule a time to optimize your storage
While you’re looking into drive optimization, look into scheduling options because these can be utilized to automate things in the future. In the Scheduled optimization section of the Optimize Drives dialogue, click the Change settings button and then check the option labelled Run on a schedule (recommended).
You can select how frequently optimization should be conducted using the drop-down box, and then click the Choose button to select the drives that should be included.
5. Looking up Windows Update
Installing updates may seem insignificant or unimportant to some individuals, but this is not the case. Indeed, the importance of keeping Windows 11 completely updated cannot be understated – it is essential!
Windows should be set to look for and download updates on a regular basis, but there’s nothing stopping you from manually checking from time to time.
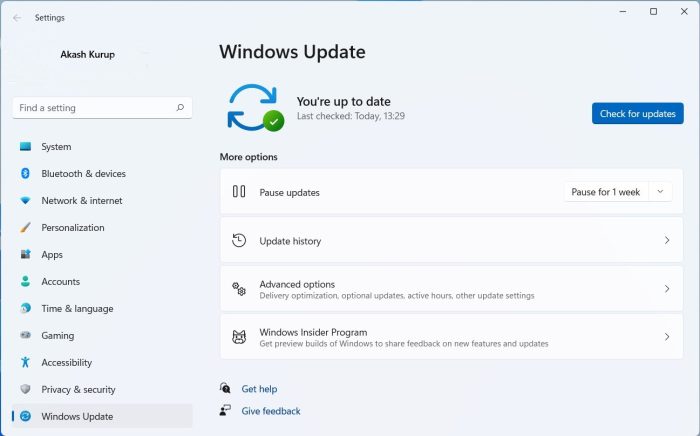
This is especially critical if you are having computer troubles at any moment. Press Windows + I to launch the Settings programme, then navigate to the Windows Update area to check for and install any updates.
6. Configure the graphical performance of your PC
While the extra effects in Windows 11 seem good, they can slow down your computer, especially if it’s an older system. You may turn off special effects in a few easy steps, beginning with pressing Windows + I to enter Settings.
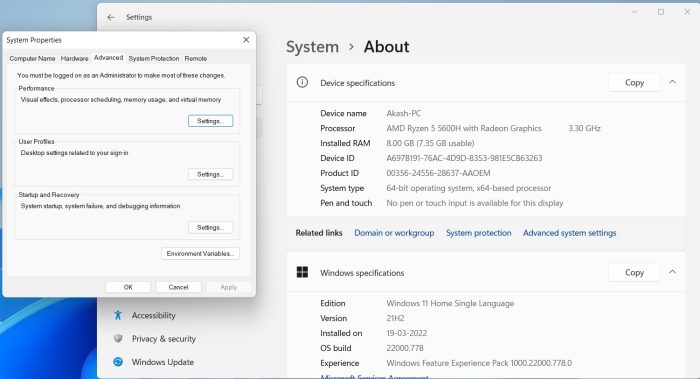
Navigate to the System section on the left, then click About at the bottom of the right-hand pane. Click the Advanced system settings link, followed by the Settings button in the Performance section of the Advanced tab. Adjust for best performance, then click on OK.
7. Changing the settings on your battery
Windows 11, like its predecessors, allows you to balance the power consumption of your computer with its performance. Power consumption is a crucial issue while running your laptop on battery power, but performance is considerably more important when connected to the mains.
Click the Start button, type Power plan into the search box, and then select the Change power plan option from the search results. Expand the Show additional plans area and then choose High performance. You can tweak the plan by clicking Change plan settings, but the default settings should suffice.
8. Making Use of Task Manager
Although setting up applications to begin automatically when Windows starts can be advantageous in many cases, over time it can drastically slow down your computer. It’s important to look at what starting processes are active and disable those that are unnecessary.
Select Task Manager from the menu that opens by pressing Ctrl, Alt, and Del. Look through the list of apps on the Startup page of Task Manager. If any of the listed items are ones you don’t want Windows to launch, right-click them and choose Disable. Restart your computer once you’ve completed this process for all unwanted startup programmes.
9. Updates on the Microsoft Store
It is just as vital to maintain Windows up to date as it is to keep the other software you have installed up to date. To update software downloaded from the Microsoft Store, simply run the Store app, navigate to the Library area, and select the Update all or Get updates button.
Apps should be uninstalled and updated. When it comes to software you didn’t get from the Store, you’ll have to look into each programme to see how the update process works. Some programmes will handle things automatically, while others would require you to check for updates manually.
10. When in doubt, Restart your computer
When computers are not in use, it is more usual to leave them in sleep mode rather than shutting them down. While this helps to shorten startup times, it can also introduce complications over time. If your machine becomes sluggish, simply pick the Restart option from the Start menu’s power section.
With one simple step, you will flush out RAM, close off useless apps, and much more. So, don’t forget: it’s a good idea to restart Windows 11 now and then to give it a fresh start.
Start using the free tools on your Windows 11 powered computer right now and make it faster and efficient to carry out your work without any delay. Also, don’t forget to share the guide with your near and dear ones as well.
Leave a Reply