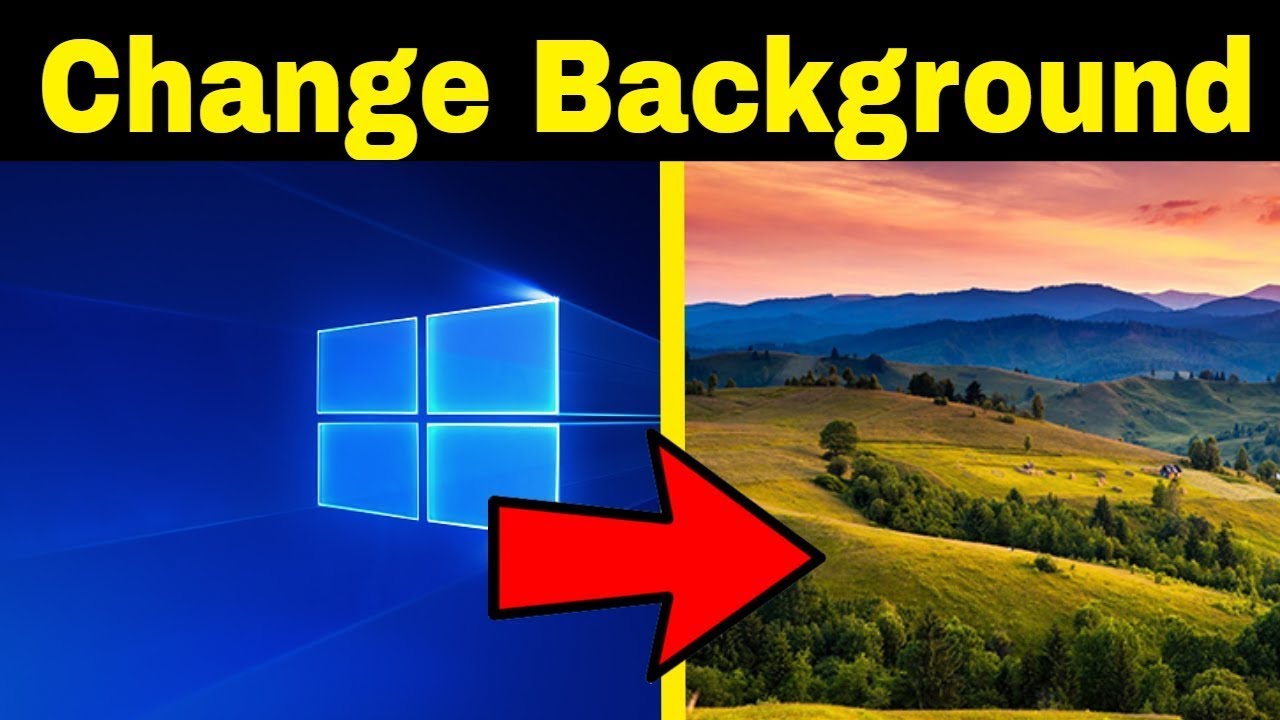
Customizing your desktop background, or wallpaper, is a fundamental way to personalize your Windows PC. Whether you want a favorite photo, a stunning landscape, or a simple solid color, Windows offers intuitive ways to change it. This guide covers how to change your background in both Windows 10 and Windows 11, as the processes are very similar.
Step 1: Access Personalization Settings
- The primary hub for changing your desktop background is the Personalization settings. There are a couple of common ways to get there:
- Method A: Right-Click on the Desktop (Quick Access)
- Right-Click: Find an empty space on your desktop (make sure no icons or open windows are covering it).
- Select Personalize: Right-click on this empty space. From the context menu that appears, select “Personalize.”
- This will directly open the “Personalization” section in your Windows Settings.
- Method B: Via the Start Menu (Standard Access)
- Open Start Menu: Click the Start button (the Windows logo icon) on your taskbar.
- Open Settings:
- Windows 11: Click the gear icon (Settings) in the Start menu.
- Windows 10: Click the gear icon (Settings) in the left pane of the Start menu.
- Keyboard Shortcut (Both): Press Windows key + I.
- Navigate to Personalization: In the Settings window, click on “Personalization” from the left-hand menu.
Step 2: Choose Your Background Type
- Once you are in the “Personalization” settings, specifically on the “Background” page, you will see a drop-down menu labeled “Personalize your background” or “Background” (depending on your Windows version). Click this menu to select your desired background type:
- Picture: For a single static image.
- Solid color: For a plain, uniform color.
- Slideshow: To rotate through a collection of images.
- Windows spotlight (Windows 11 only): Automatically displays daily changing, high-quality images from Microsoft.
- Let’s explore each option.
- Option A: Picture (Single Image)
- This is the most common choice for a static wallpaper.
- Select “Picture”: From the “Personalize your background” drop-down, choose “Picture.”
- Choose a Recent Image: Below the drop-down, you’ll see a section titled “Choose your photo” (Windows 11) or “Choose your picture” (Windows 10). Here, you’ll see thumbnails of recently used or default background images. Click on any of these to apply it instantly.
- Browse for a New Image: To use an image from your computer that isn’t listed:
- Click the “Browse photos” button (Windows 11) or “Browse” button (Windows 10).
- A File Explorer window will open. Navigate to the folder where your desired image is saved (e.g., “Pictures,” “Downloads”).
- Select the image file (e.g., .jpg, .png) and click “Choose picture” (Windows 11) or “Choose Picture” (Windows 10). The image will be applied immediately.
- Choose a Fit: After selecting your picture, use the “Choose a fit for your desktop image” (Windows 11) or “Choose a fit” (Windows 10) drop-down menu to decide how the image appears on your screen:
- Fill: Stretches or crops the image to fill the entire screen, maintaining aspect ratio. This is often the best choice.
- Fit: Resizes the image to fit the screen, maintaining aspect ratio, but may leave black bars if the aspect ratios don’t match.
- Stretch: Stretches the image to fill the entire screen, potentially distorting its aspect ratio.
- Tile: Repeats the image across the screen. Best for small patterns.
- Center: Places the image in the center, leaving borders around it.
- Span: (For multiple monitors) Stretches one image across all connected displays.
- Option B: Solid Color
- For a minimalist look or if you prefer simplicity.
- Select “Solid color”: From the “Personalize your background” drop-down, choose “Solid color.”
- Choose a Color: A palette of default colors will appear. Click on any color to instantly apply it as your background.
- Custom Color (Windows 10 & 11):
- Click the “Custom color” or “View colors” button (Windows 11) or the “+ Custom color” button (Windows 10).
- Use the color picker to select any color you desire.
- Click “Done” (Windows 11) or “Done” / “OK” (Windows 10) to apply it.
- Option C: Slideshow
- To have your desktop background change automatically at set intervals.
- Select “Slideshow”: From the “Personalize your background” drop-down, choose “Slideshow.”
- Choose an Album for your Slideshow:
- Click the “Browse photos” button (Windows 11) or “Browse” button (Windows 10) under the “Choose albums for your slideshow” or “Choose albums for your slideshow” section.
- Select the folder containing the images you want to use for the slideshow. Click “Choose this folder.”
- Note: All images within that chosen folder will be part of the slideshow.
- Set Change Interval: Use the “Change picture every” drop-down menu to select how often the background changes (e.g., 1 minute, 10 minutes, 1 day).
- Enable Shuffle (Optional): Toggle “Shuffle the picture order” to randomly display images instead of in sequential order.
- Choose a Fit: Similar to the “Picture” option, select how images should fit on your screen (Fill, Fit, Stretch, etc.).
- “Let slideshow run even if I’m on battery power” (Windows 10 only): This option (if present) allows the slideshow to continue even when your laptop is on battery, potentially consuming more power. In Windows 11, slideshows typically pause on battery saver.
- Option D: Windows Spotlight (Windows 11 Only)
- Windows Spotlight automatically pulls beautiful, high-quality images from Microsoft’s Bing image library and displays them as your background, often with accompanying information about the location or subject.
- Select “Windows spotlight”: From the “Personalize your background” drop-down, choose “Windows spotlight.”
- Automatic Update: Your background will immediately change to a Spotlight image. It will update daily or every few hours.
- Like/Dislike Images: On the desktop, you’ll see a small “Learn about this picture” icon. Clicking it allows you to “Like” or “Dislike” the image, helping Windows tailor future Spotlight selections.
Step 3: Verify Your New Background
- Once you’ve made your selections, simply close the Settings window. Your desktop background will be updated to your chosen image, color, or slideshow.
- Common Issues and Tips
- Image Resolution: For best results, use images with a resolution equal to or higher than your screen’s resolution. If your screen is 1920×1080 (Full HD), use images of at least that size.
- File Formats: Windows supports common image formats like JPG, PNG, BMP, and GIF.
- Multiple Monitors: Windows allows you to set different backgrounds for each monitor or span a single image across all of them from the “Background” settings page.
- Themes: Beyond just the background, Windows also offers themes (found under Personalization > Themes). A theme includes a background, accent colors, sounds, and sometimes even mouse cursors, offering a more comprehensive customization package. You can download more themes from the Microsoft Store.
- By following these steps, you can easily change and customize your desktop background in Windows, making your PC truly yours.
FAQ: How to Change Desktop Background in Windows
- Q1: How do I change my desktop background in Windows 10? To change your desktop background in Windows 10, right-click on an empty space on your desktop and select “Personalize.” Then, from the “Background” tab, choose “Picture,” “Solid color,” or “Slideshow” from the drop-down menu and follow the on-screen prompts to select your desired image, color, or folder.
- Q2: What’s the difference between “Fill” and “Fit” for my desktop background Fill: This option stretches or crops your image to completely cover your screen, maintaining the image’s aspect ratio. It’s ideal for making sure there are no empty spaces, even if it means some parts of the image are cut off. Fit: This option resizes the image to fit entirely on your screen, maintaining its aspect ratio. If the image’s aspect ratio doesn’t match your screen’s, you might see black bars on the sides or top/bottom. It ensures the whole image is visible.
- Q3: Can I set a GIF or a video as my desktop background in Windows? Natively, Windows does not support GIFs or videos as desktop backgrounds directly through its built-in personalization settings. You would need to use third-party applications like “Lively Wallpaper” or “Wallpaper Engine” (available on platforms like Steam) to set animated backgrounds like GIFs or videos.
- Q4: How do I set a different background for each monitor if I have multiple displays? Yes, in Windows 10 and Windows 11, you can set different backgrounds for each monitor.
- Go to Settings > Personalization > Background.
- Under “Choose your photo” (or “Choose your picture”), right-click on a desired image.
- A context menu will appear allowing you to “Set for monitor 1,” “Set for monitor 2,” etc. If you use a slideshow, the images will cycle independently on each monitor, or you can choose “Span” to stretch one image across all displays.
- Q5: My desktop background is black/blank and I can’t change it. What’s wrong? This can happen for several reasons:
- High Contrast Theme: You might have a high contrast theme enabled (designed for accessibility), which overrides background settings. Go to Settings > Accessibility (or Ease of Access) > Contrast themes (or High contrast) and ensure it’s off or set to “None.”
- Windows Activation: If your Windows operating system is not activated, some personalization options, including changing the background, may be disabled.
- Power Saving Settings: Sometimes, aggressive power saving or specific display settings can cause issues.
- Corrupted Files: Rarely, system file corruption could prevent changes. Running a System File Checker (sfc /scannow in Command Prompt) might help.