A non-functional Wi-Fi connection on your Windows laptop can bring productivity and entertainment to a halt. Whether you’re suddenly disconnected or can’t connect at all, troubleshooting Wi-Fi issues can be a common frustration. This comprehensive guide will walk you through a series of step-by-step solutions to fix Wi-Fi not working on your Windows laptop, ranging from simple checks to more advanced network resets and driver management.
Understanding Common Wi-Fi Problems
Before diving into solutions, it’s helpful to understand the general categories of Wi-Fi issues:
- No Wi-Fi Option: The Wi-Fi toggle or adapter might be missing.
- Cannot Connect: Your laptop sees networks but fails to connect or gets an error.
- Limited/No Internet Access: Connected to Wi-Fi, but no internet.
- Intermittent Connection: Wi-Fi keeps dropping in and out.
- Slow Speed: Connected, but performance is poor.
Let’s begin troubleshooting.
- Perform Basic Checks and Restarts (The First Steps)
Often, the simplest solutions are the most effective.
- Check Physical Wi-Fi Switch/Hotkey:
- Many laptops have a physical Wi-Fi switch or a function key (e.g., Fn + F2, Fn + F5, Fn + F12 – look for a Wi-Fi or airplane icon) that toggles Wi-Fi on/off. Ensure it’s in the “On” position.
- Toggle Wi-Fi On/Off in Windows:
- Click the Wi-Fi icon (or globe icon) in the bottom-right corner of your taskbar.
- Click the Wi-Fi toggle to turn it off, wait a few seconds, then turn it back on.
- Enable Airplane Mode (Then Disable):
- Click the Wi-Fi icon in the taskbar.
- Click the Airplane mode toggle to turn it on, wait 10 seconds, then turn it off. This often refreshes all wireless radios.
- Restart Your Laptop:
- A simple restart can resolve temporary glitches in your operating system or network drivers. Go to Start > Power > Restart.
- Restart Your Router/Modem:
- Unplug your Wi-Fi router and modem from the power outlet.
- Wait 30 seconds.
- Plug the modem back in and wait for all its indicator lights to stabilize (usually 1-2 minutes).
- Then, plug the router back in and wait for its lights to stabilize (another 1-2 minutes). This refreshes the network connection.
- Run the Windows Network Troubleshooter
Windows has a built-in troubleshooter that can often diagnose and fix common network issues.
- Step 1: Open Network Troubleshooter.
- Right-click the Wi-Fi icon (or globe icon) in the taskbar.
- Select “Diagnose network problems” or “Troubleshoot problems.”
- Alternatively, go to Settings > Network & internet > Advanced network settings > Network troubleshooter.
- Step 2: Follow On-Screen Instructions.
- The troubleshooter will scan for issues and suggest fixes. Follow any prompts it provides. It might identify problems with your adapter, DNS, or gateway.
- Check Network Adapter Settings
Your Wi-Fi adapter needs to be enabled and correctly configured.
- Step 1: Open Network Connections.
- Right-click the Start button and select “Network Connections.”
- Or go to Settings > Network & internet > Advanced network settings > More network adapter options.
- Step 2: Ensure Wi-Fi Adapter is Enabled.
- Locate your Wi-Fi adapter (e.g., “Wi-Fi,” “Wireless Network Connection”).
- If it’s grayed out, right-click it and select “Enable.”
- Step 3: Disable and Re-enable Adapter.
- Even if enabled, right-click your Wi-Fi adapter and select “Disable.” Wait a few seconds, then right-click again and select “Enable.” This can refresh the adapter.
- Update or Reinstall Wi-Fi Drivers
Outdated or corrupted Wi-Fi drivers are a frequent cause of connection problems.
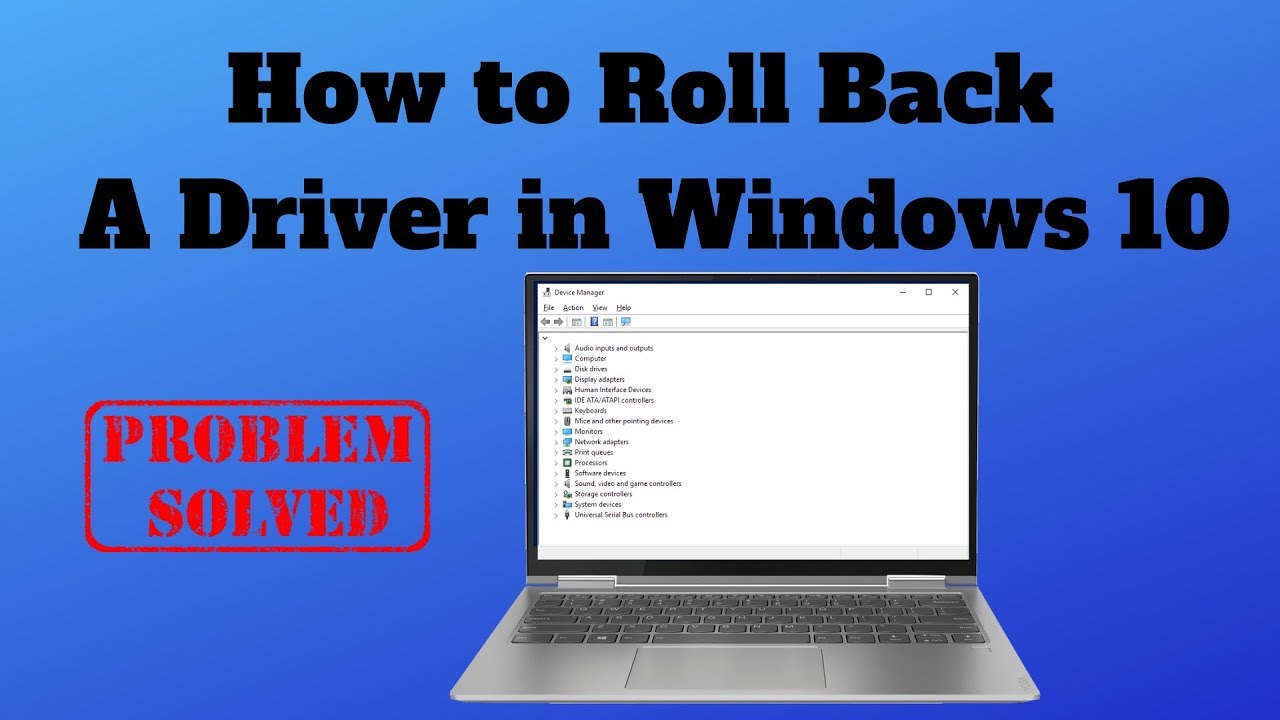
- Step 1: Open Device Manager.
- Right-click the Start button and select “Device Manager.”
- Step 2: Locate Network Adapters.
- Expand the “Network adapters” category.
- Find your Wi-Fi adapter (it will usually have “Wireless,” “Wi-Fi,” or “802.11” in its name).
- Step 3: Update Driver.
- Right-click on your Wi-Fi adapter and select “Update driver.”
- Choose “Search automatically for drivers.” Windows will try to find and install the latest driver. If it says the best driver is already installed, proceed to the next step.
- Step 4: Reinstall Driver (if updating fails or no driver found).
- Right-click on your Wi-Fi adapter again and select “Uninstall device.”
- Crucially, do NOT check the box that says “Attempt to remove the driver software for this device” unless you have downloaded a specific driver from the manufacturer’s website. If you check this, Windows might not have a generic driver to fall back on.
- Confirm the uninstallation.
- Restart your laptop. Windows should automatically reinstall a generic Wi-Fi driver upon reboot.
- Step 5: Manually Install Driver (if problems persist).
- Go to the support website of your laptop’s manufacturer (e.g., Dell, HP, Lenovo, Asus).
- Enter your laptop’s model number.
- Find the “Drivers” or “Support” section and locate the latest Wi-Fi/Wireless LAN driver compatible with your Windows version.
- Download the installer to your laptop (you might need to use another device or a wired Ethernet connection for this).
- Run the downloaded driver installer and follow the on-screen instructions.
- Reset Network Settings
If driver issues aren’t the problem, resetting your network configuration can resolve deeper connectivity issues.
- Step 1: Perform Network Reset.
- Go to Settings > Network & internet.
- Scroll down and click on “Advanced network settings.”
- Click on “Network reset.”
- Click “Reset now.”
- Confirm your choice. Your laptop will restart. This process reinstalls network adapters and resets networking components. You’ll need to re-enter all Wi-Fi passwords afterward.
- Step 2: Flush DNS and Reset IP Configuration (Command Prompt).
- Search for “cmd” in the Windows search bar.
- Right-click “Command Prompt” and select “Run as administrator.”
- Type the following commands, pressing Enter after each one:
- netsh winsock reset
- netsh int ip reset
- ipconfig /release
- ipconfig /renew
- ipconfig /flushdns
- Restart your laptop after running these commands.
- Forget and Reconnect to the Wi-Fi Network
Sometimes, your laptop might have a corrupted profile for a specific Wi-Fi network.
- Step 1: Open Wi-Fi Settings.
- Go to Settings > Network & internet > Wi-Fi.
- Click on “Manage known networks.”
- Step 2: Forget the Network.
- Find the problematic Wi-Fi network in the list.
- Click on it and select “Forget.”
- Step 3: Reconnect.
- Go back to the Wi-Fi quick settings (taskbar icon) or Wi-Fi settings.
- Select the network, click “Connect,” and enter the password again.
- Check for Software Conflicts
Third-party software, especially VPNs or antivirus programs, can sometimes interfere with Wi-Fi.
- Temporarily Disable VPN/Antivirus:
- If you use a VPN client or a third-party antivirus program, try temporarily disabling them to see if Wi-Fi starts working. If it does, you’ll need to adjust their settings or contact their support.
- Perform a Clean Boot:
- A clean boot starts Windows with a minimal set of drivers and startup programs, helping you identify software conflicts. Search for “msconfig” and follow guides on how to perform a clean boot.
- Advanced Hardware Troubleshooting
If all software solutions fail, it might be a hardware issue.
- External Wi-Fi Adapter:
- To rule out a faulty internal Wi-Fi card, purchase an inexpensive USB Wi-Fi adapter. Plug it in and install its drivers. If it connects, your internal Wi-Fi card is likely faulty.
- Professional Repair:
- If the internal Wi-Fi card is determined to be the problem, and you’re not comfortable replacing it, seek professional repair.
By systematically working through these steps, you can effectively fix Wi-Fi not working on your Windows laptop, restoring your internet connection and getting you back online.