Are you wondering how to remove annoying ads from Windows 11?
Nobody likes advertisements.
Especially when the ads are displayed on products that you paid your hard-earned money on.
Even though ads were not so much of an issue in earlier Windows versions, people are now annoyed with the ads on Windows 11.
Also Read —> How to Open EXR Files on Windows 10?
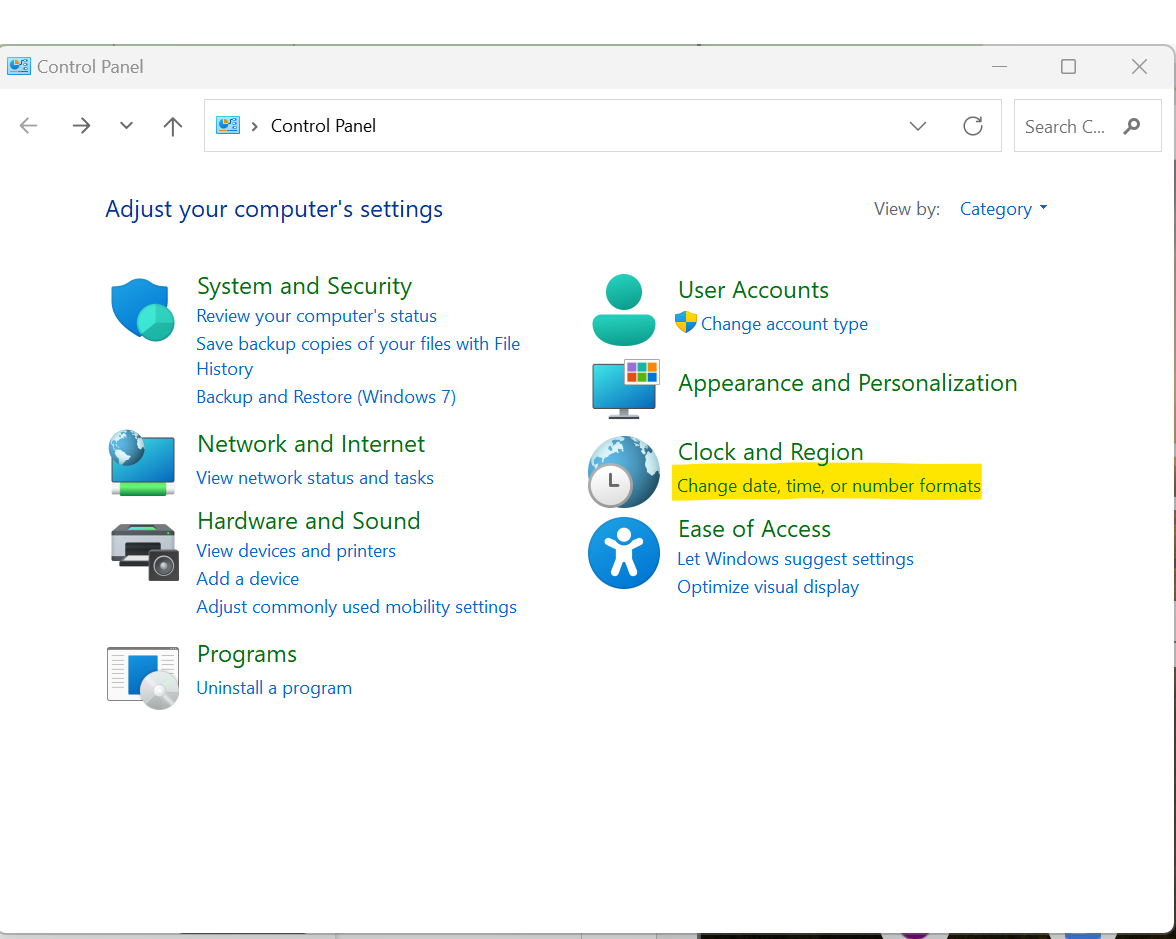
Why does Windows 11 Shows Ads?
Windows 11 shows ads from first-party installed apps and other pre-installed services.
Also, all the pop-up messages, suggestions, and notifications you see from third-party applications/software installed on your computer as well as websites that you visit, are also advertisements.
How to Remove Annoying Ads from Windows 11?

Now to the best part.
Do you wish to remove the advertisements shown on your Windows 11 system?
Well, here are the various methods to remove all sorts of ads on Windows 11.
Method 1: Disable Ads from Third-Party Software in Windows 11
Below are the steps to disable ads displayed by third-party installed apps on Windows 11.
- Launch the Settings menu on your computer.
- Click on “System”, and then click on “Notifications”.
- Within the list of applications, find the application(s) whose notifications are annoying you. Simply click on the slider next to that particular application and turn the notification OFF.
And that’s it. Now, the notifications from the application(s) you chose will no longer be shown to you.
Method 2: Disable Ads on Windows 11 Lock Screen
Another place where advertisements are commonly shown within Windows 11 is within the lock screen.
Here’s how you can easily remove ads from being shown on Windows 11 lock screen.
- Press the “Windows” key + “I” key to launch the Settings application.
- Click on “Personalization” from the left-side menu.
- Now, on the right side of the window, click on “Lock Screen”.
- Disable the option that says “Get fun facts, tips, tricks, and more on your lock screen.
And that is it. Now ads will no longer be visible on your Windows 11 lock screen provided that you use static pictures or a slideshow as your lock screen.
If you have the “Windows Spotlight” feature enabled, then the ads will still be visible.
Method 3: Disable First-Party Apps Ads on Windows 11 using Command Prompt
If first-party applications show ads on your Windows 11 computer, then a Windows service controls them.
You can easily disable first-party ads on Windows 11 by using Command Prompt and here’s how to do it.
- Search for the “Command Prompt” application within your Windows 11 PC.
- When you find Command Prompt from the search results, right-mouse-click on the search result and click on “Run as Administrator”.
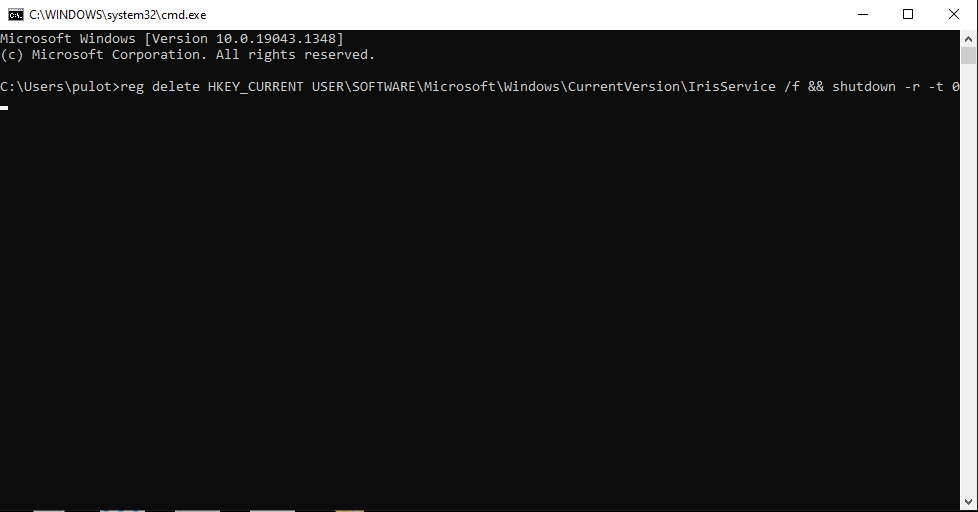
- Within the Command Prompt window, copy & paste the below command and press “Enter”:
reg delete HKEY_CURRENT USER\SOFTWARE\Microsoft\Windows\CurrentVersion\IrisService /f && shutdown -r -t 0
Your computer will now restart and once it’s done, all ads will be gone.
Method 4: Completely Turn OFF All Notifications on Windows 11
As a continuation of Method 1 above, if you wish to completely turn OFF notifications from all applications on Windows 11, then follow these steps:
- Press the “Windows” key +”I” key to launch the Settings app.
- Click on “System”.
- Now, click on “Notifications”.
- Toggle the slider to OFF next to the “Notifications” option.
And that’s it! No more Windows 11 notifications.
Method 5: Disallow Windows 11 to Show You Personalized Ads
Windows 11 shows you personalized advertisements based on your system usage. You can disable personalized ads on Windows 11 by following the below steps.
- Launch the “Settings” app on your computer.
- Click on the “Privacy & Security” option and then click on “General”.
- Disable the option that says “Let apps show me personalized ads by using my advertising ID”.
Now, all personalized ads on Windows 11 are on your computer.
Final Words
Found this article helpful?
Then do consider sharing it with other Windows 11 users in your circle to help them stay away from advertisements.