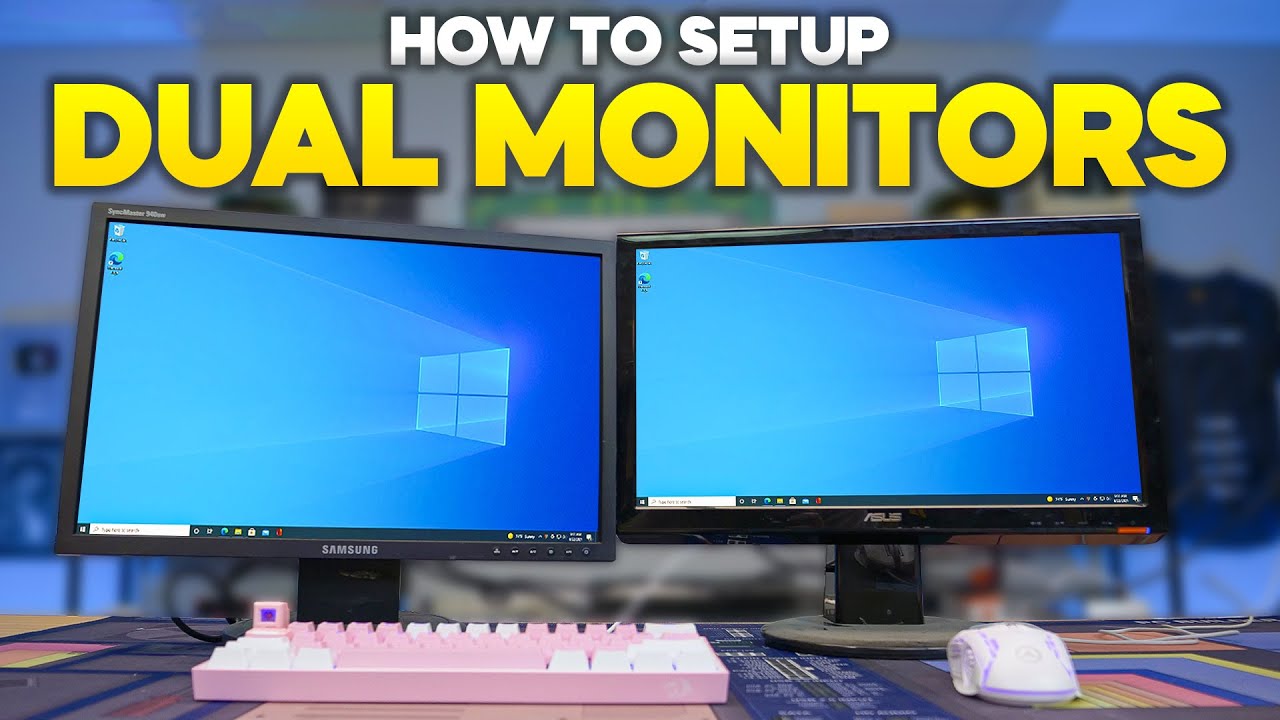
Easily connect multiple monitors to your Windows PC or laptop. This guide covers physical connections, Windows settings, and troubleshooting steps for a multi-display setup.
Fixing Windows operating system errors in April 2025 requires a methodical approach. By following these steps, you can diagnose and often resolve the underlying causes of various errors and get your computer running smoothly again. If the problem persists after trying these steps, seeking professional help might be the best course of action.
Fixing a black screen after login on Windows in April 2025 requires a systematic approach. By following these steps, you can often diagnose and resolve the underlying cause and get back to using your computer normally. If the problem persists after trying these steps, seeking professional help might be the best course of action.
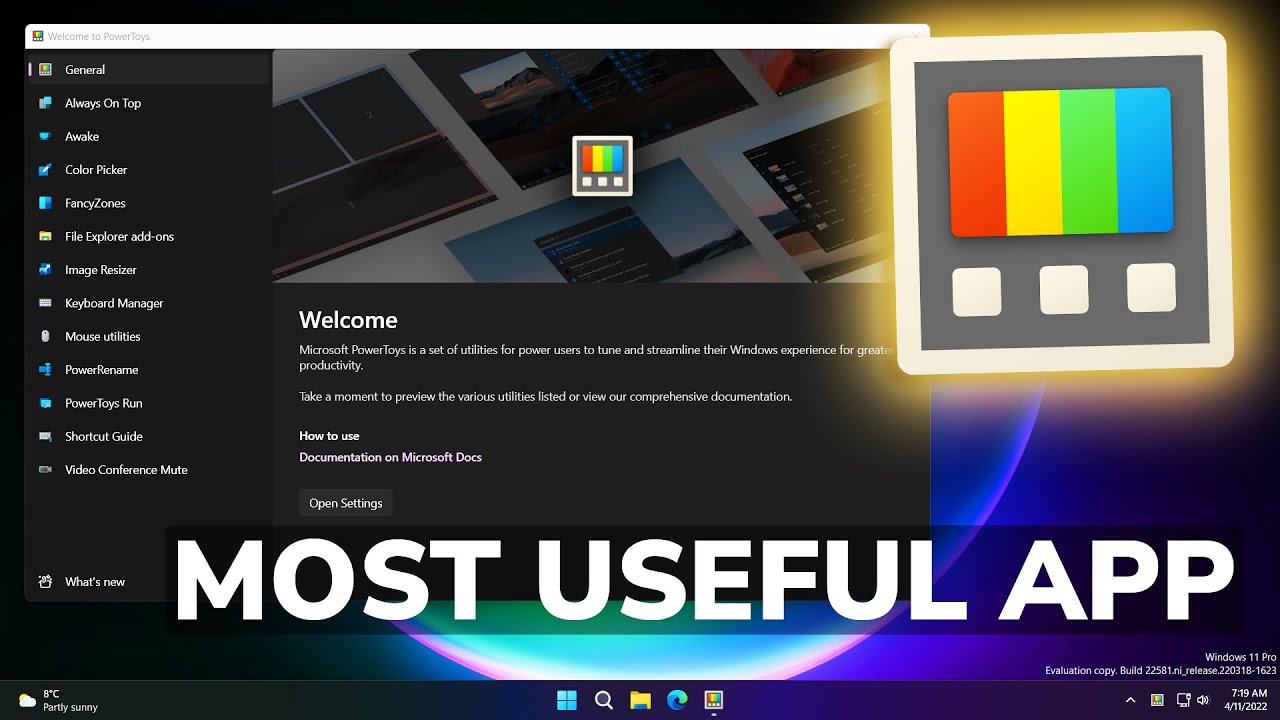
Using PowerToys on Windows 11 in April 2025 is a fantastic way to unlock additional features and customize your operating system for increased productivity and a more tailored computing experience. By following these steps and exploring the various utilities, you can supercharge your Windows 11 workflow.
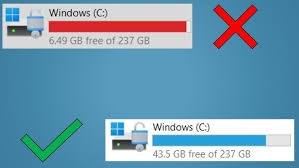
Finding large files on your Windows hard drive in April 2025 is a straightforward process using the methods outlined above. By utilizing File Explorer's built-in features, the Storage settings, or a dedicated disk space analyzer tool, you can easily identify and manage these files to free up valuable storage space and keep your computer running efficiently.
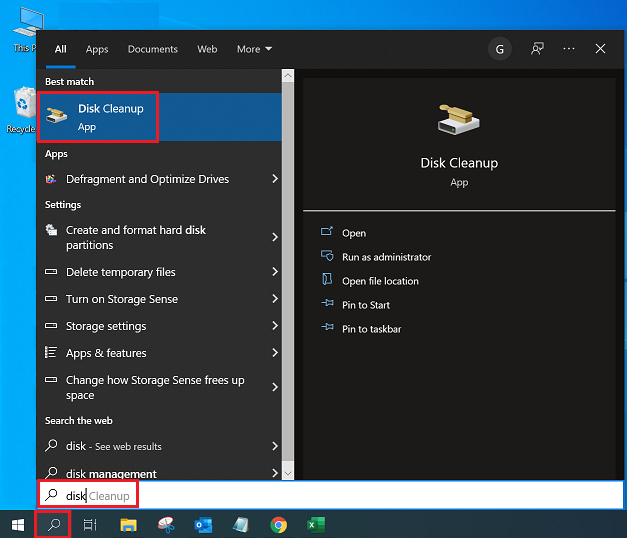
Running Disk Cleanup in Windows 10 and Windows 11 in April 2025 is a simple yet effective way to remove unnecessary files, free up disk space, and potentially improve your computer's performance. By following these steps, you can easily declutter your digital space and keep your system running efficiently.
Reinstalling Windows 10 without losing your data in April 2025 is a viable solution for resolving persistent system problems. By carefully following these steps and choosing the method that best suits your needs, you can achieve a cleaner, more stable Windows 10 installation while keeping your important files safe.
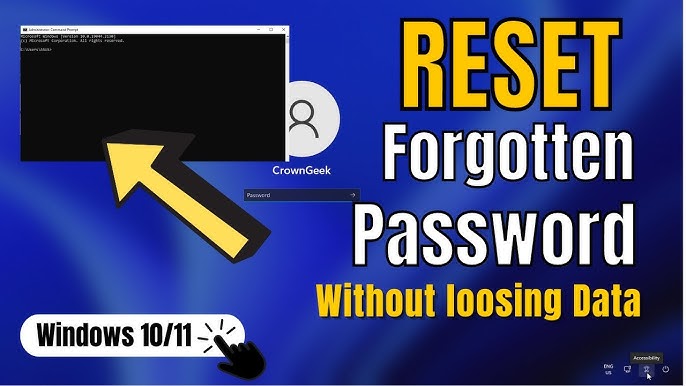
Resetting your Windows 10 password without losing data in April 2025 is achievable using the methods outlined above. Choose the method that applies to your situation and follow the steps carefully to regain access to your computer and your files.