This post will help you enable Hyper-V in Windows 10 Technical Preview / Insider Preview. Hyper-V is a well known virtualization service offered by Microsoft in its Operating system software. Hyper-V continues to provide its feature enriched and stable virtualization platform in Windows 10 as well. Follow the steps below to enable Hyper-V in Windows 10.
Check the Basics
Note: Make sure that Virtualization is Enabled In your computer’s BIOS.
- Go to the Start menu or start screen
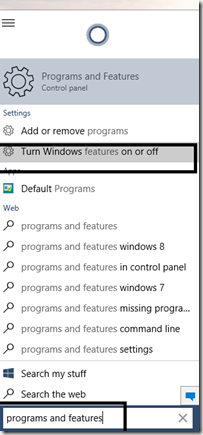
- Type Programs & features

- Click on Turn Windows Features on or off
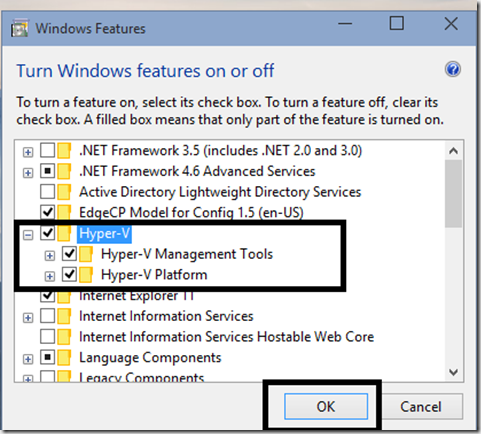
- Now, Check the box saying Hyper-V as indicated in the screenshot below

- Press OK

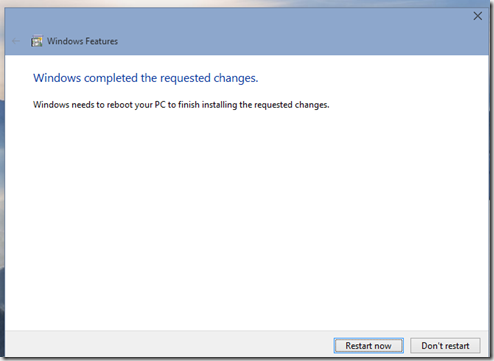
- Windows will install Hyper-V & at the end will ask you to Restart your PC

- Once you restart your PC, Windows will setup Hyper-V for you.
Hope this helps. Please use the comment section below to share your thoughts & feedback.
