Are you looking for ways to customize the taskbar in Windows 11? Microsoft introduced the […]
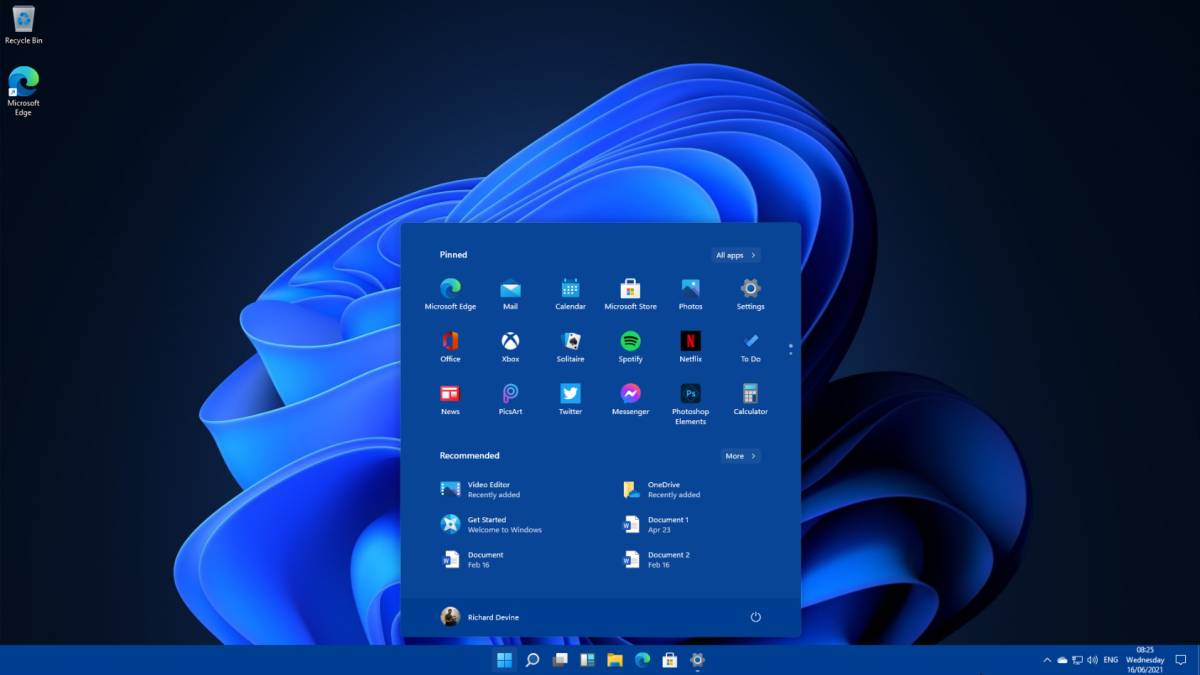
Are you looking for ways to customize the taskbar in Windows 11? Microsoft introduced the […]

Having trouble starting your Windows computer? Are you searching for what to do when you
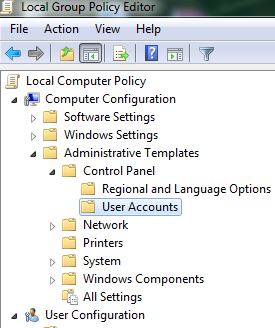
Are you looking for a way to use default logon picture for all users in

If you’re looking for a guide on how to edit videos in Windows 11 with
Are you looking for ways to increase Windows 11 performance optimization? Windows 11 is the
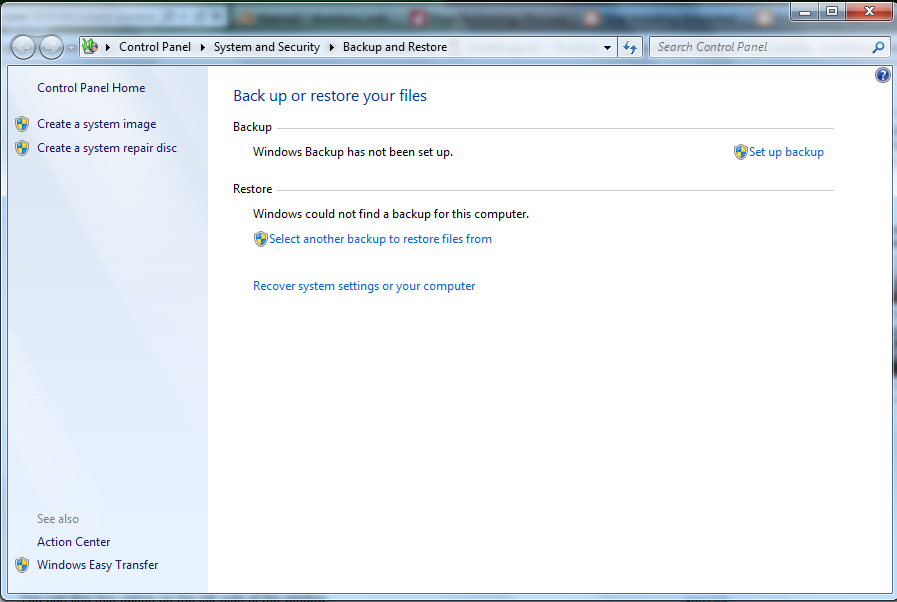
After reading this you will be able to create Windows 7 Repair Disc easily without

Are you trying to fix the No Display Computer Screen Goes Black/Hangs/Blinks issue on Windows?
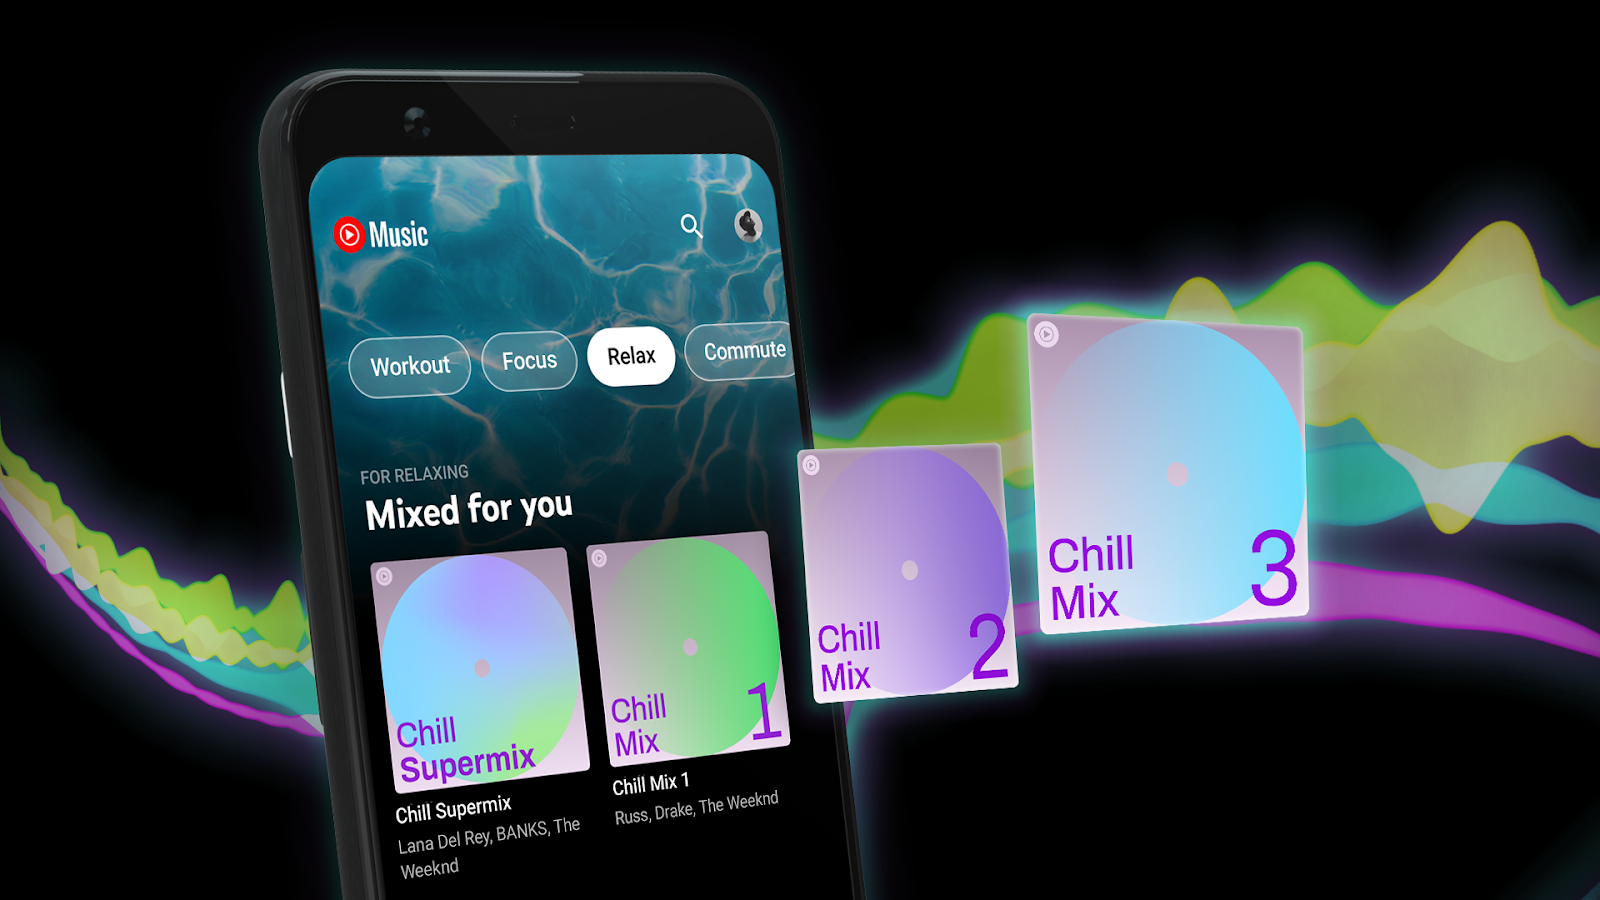
With over 2.5 billion active users, YouTube is, without a doubt, among the most-used digital
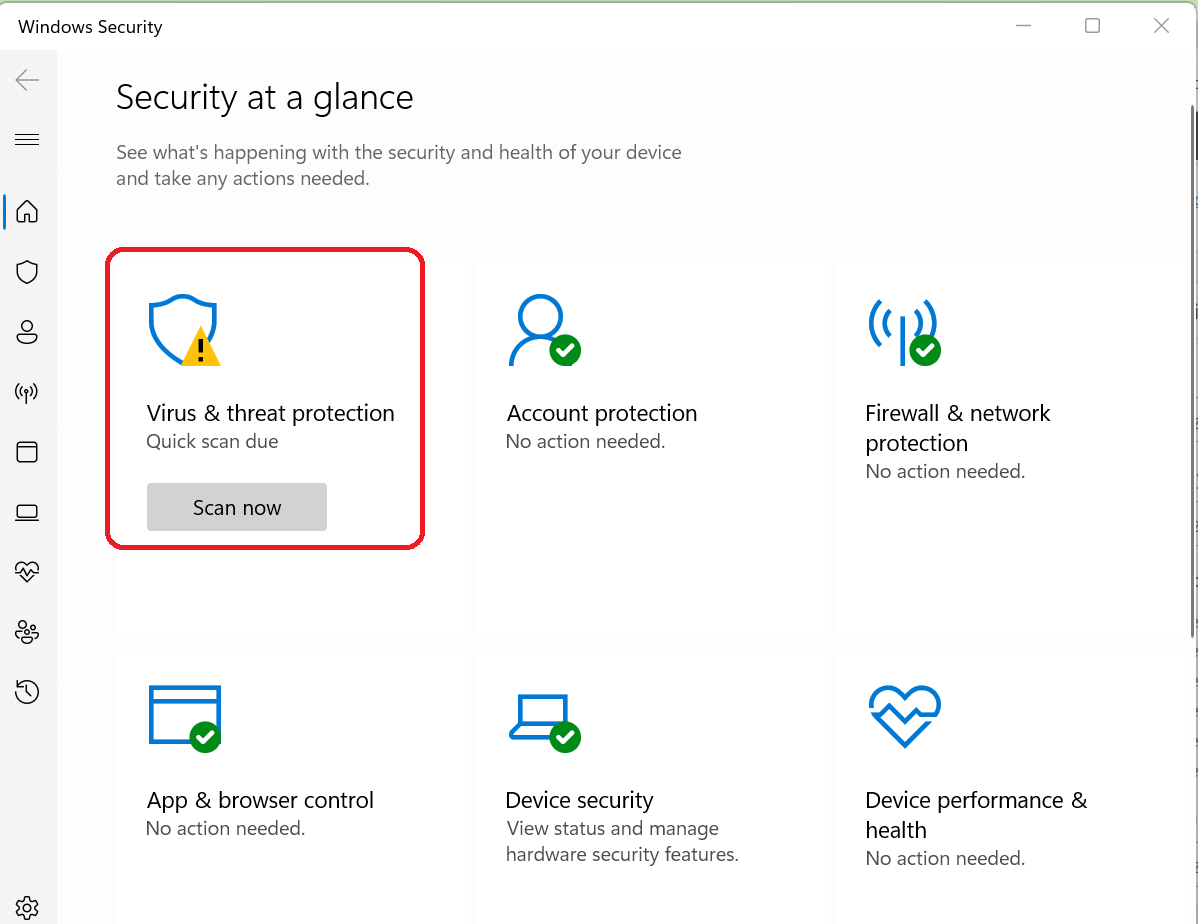
Have you ever wondered about how to keep your computer safe using Windows Security? In
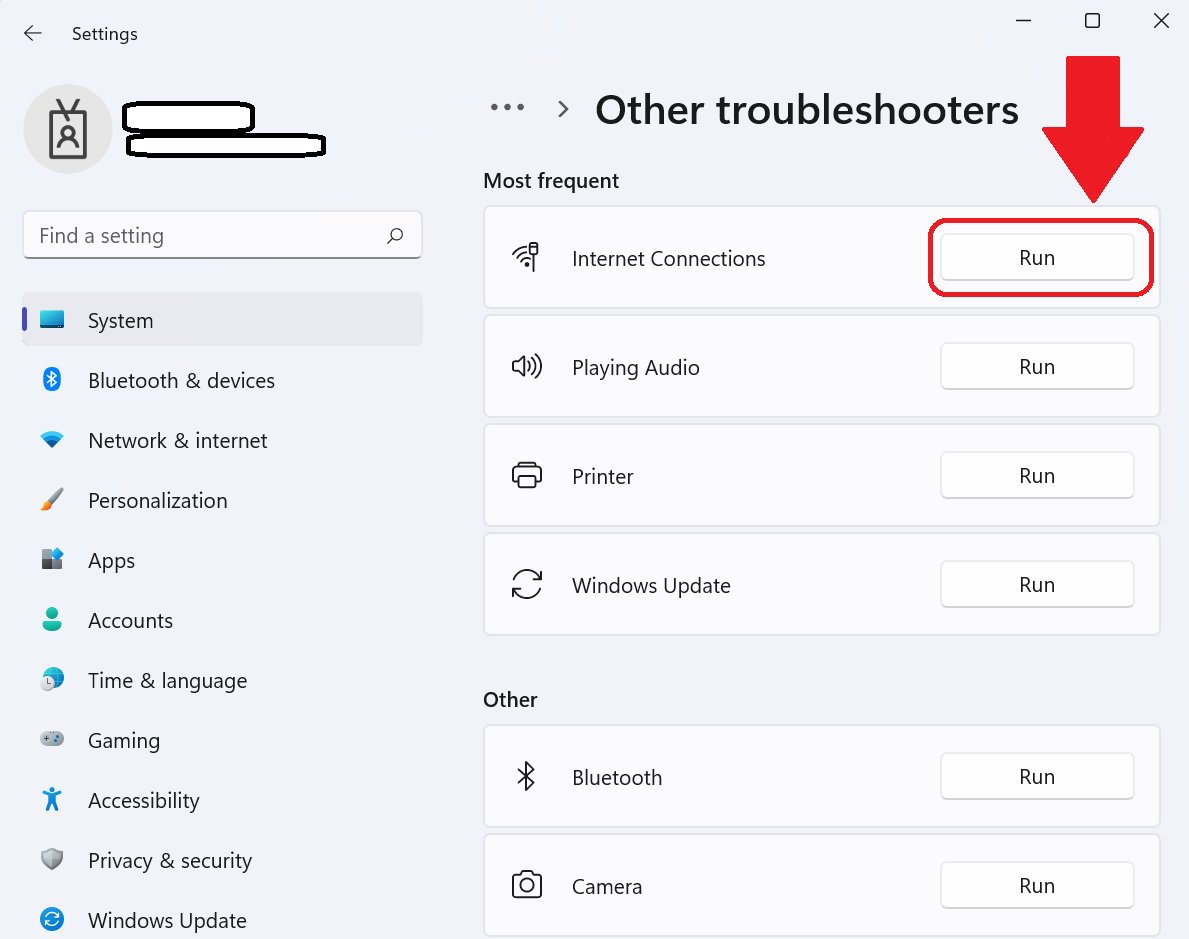
Are you looking for some easy ways to fix Windows 11 Wifi problems? Even though